Stud Wall Shelves - Built In
Built in Shelves - Stud Wall
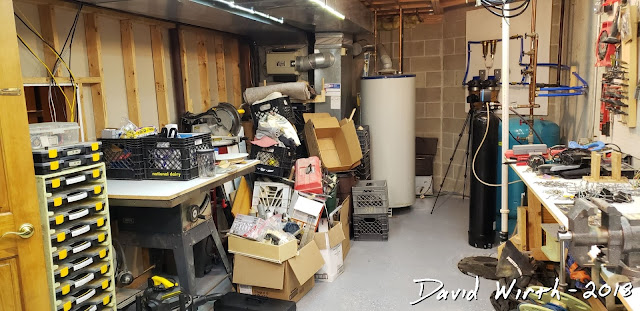
This was a back closet room that was framed up for a sauna in our basement.
As you can see, i have lots of junk in my workshop that needs a place to go.
So i decided to see if i could leave the stud wall in place and add shelves to it.
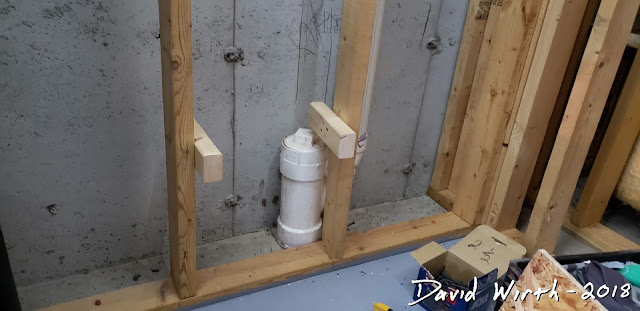
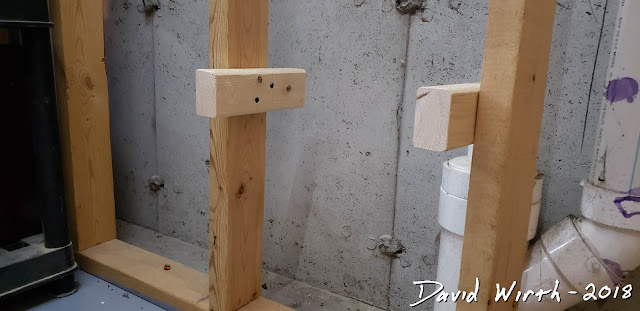
By using 2x3's and 2x2's i was able to quickly and easily make a shelf centered on the studs. Something to point out here though...the studs were not set right against the wall. They were several inches off the wall to make room for the PVC sanitary pipe.
Then using some scrap OSB the self was done.
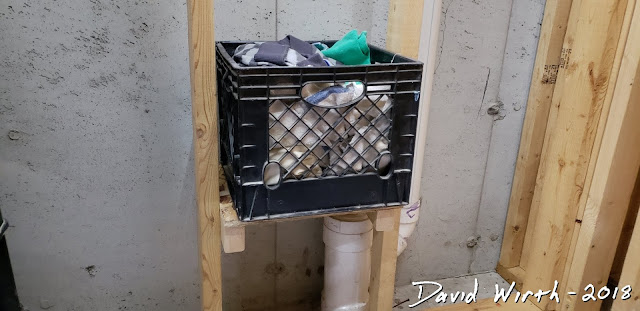
And 16" on center 2x4's means that a 13" milk crate will fit perfectly.
A few more shelves and a few more milk crates and the amount of storage was starting to add up.
I left a little room to be able to reach in and see what's in the crates.
Time to build a lot more shelves. These are 2x4's ripped in half.
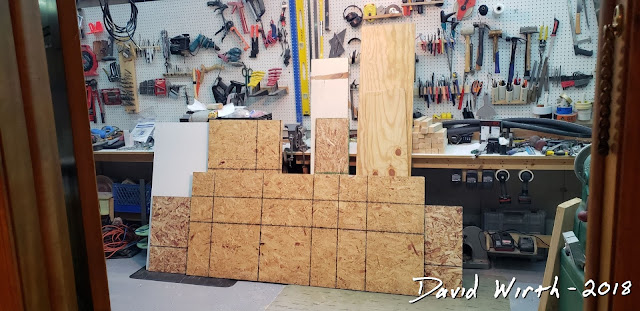
And this is all the scrap wood i was thinking of using.
Just measure up from the previous shelf, then transfer the mark to 3 sides of the 2x4.
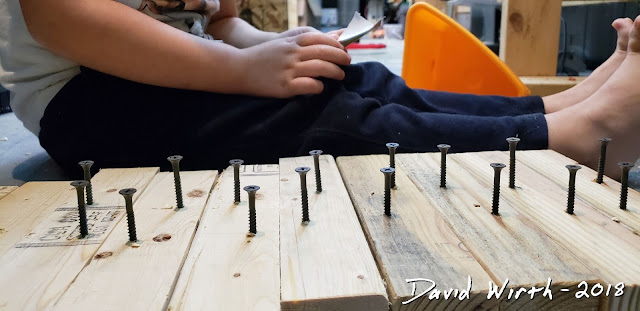
This is all of the support boards predrilled and ready to be screwed in.
Coming along nicely.
And the wall packed full.
For the back wall i had to do something different. I didn't have room to center the board on the 2x4, i had to cantilever it to the front.
So i cut some triangular pieces of OSB and screwed them in.
But this allowed me to get a few more milk crates up and out of the way.
I'm really happy with how it turned out and how much storage space i got. I never thought i would be able to store everything and have it easily accessible.
The last thing will be to make labels, like in the last picture, with white hardboard and write down what's in all of the milk crates.
Transcript from Video:
if you're like me one of the biggest
issues you have been working in a
basement or garage workshop is running
out of space but we had this other room
and it was formed up I think for like a
sauna because it was all formed up but
there was walls and there's a drain in
it now we don't need a sauna room and I
was originally gonna tear down there
were there
studs put in here and I was originally
gonna tear them down and then I realized
16 inch on center studs means that a 13
inch wide milk crate fits perfectly in
there and I have a bunch of milk crates
don't I swear I got him but I have a
bunch of milk crates and they fit
perfect so I made some simple shelves
now I had some different ideas of how I
was gonna build the shelves originally I
was gonna have a BA a vertical board up
here and Ledger's or I was gonna run a
board all the way across and put the
shelves on that but then I realized if I
just ripped a 2x4 in half let me show
you if I just ripped a 2x4 in half and
cut it eight or ten inches long or
whatever two screws right into the stud
on either side and just took a piece of
OSB it couldn't be more simple
now these milk crates aren't that heavy
I have a couple heavy ones I have them
on the bottom sitting on the ground but
this holds it up no problem they fit
perfectly and when I first did this I
wasn't even sure if I was gonna use it
or liked it and I only built one row I
think I started with this row here and I
just built that and I'm like wow that
fits perfectly then I built another row
and I did a few more and then I went up
to the top so I didn't have any
intentions of building this whole room
the way I did I started with one or two
rows and then I realized hey I have all
these milk crates I could fill this
whole wall up and again I could have
made these shelves more complex with
boards coming off or a board running the
full width but I just felt this way was
simple and easy I could just cut a whole
bunch of these boards screw min and be
done I wouldn't have to mount anything
on the front or back or cantilevers and
anything to the ground this is just
simple and it works
eventually I'm going to make plates I
have all these pieces of white board I
cut and I'm going to mount them on the
front and label them kind of like how I
have I already have one labeled
electrical so I'll be able to come in
here and hopefully find everything I
need after I built it I was kind of
reminded back the old Mythbusters show
where they had that wall of big totes
and everything labeled it would be nice
to come in here and say okay wheels
right here here's all my wheels or come
in here again I have my electrical so it
would be nice to organize everything to
be able to find it that's the biggest
thing I found when we moved to the new
houses how many times I looked in
someone said oh I didn't even know I
have this I forgot I even had this weird
parts for a toilet I went out and bought
parts for a toilet Maria has already had
it I just couldn't find it so being able
to no one you haven't being able to find
it is huge let me show you a closer how
I built them all so here's a closer look
at the shelves themselves now one thing
to note is these studs were not right up
against the wall I had a lot of room in
the back which allowed me to Center the
boards on the middle if these boards
were right up against the back as like
these were I had to do shelves that
supports that stick out kind of
cantilevered shelves that held it up but
because these studs were off the wall
this distance I could Center that on
there and it was more balanced for when
I put the milk right on it's very solid
and stable if I had to have these
sticking out like this I would have had
to come up with a system more like this
where I cut triangles and they were
cantilever it out to support the shelves
but I was able to fit quite a few on
here some of these are different height
because there's a PVC plumbing pipe in
the back here that I had to cut out and
make room for I also have my reverse
osmosis water filter in there and
have all the filters so these are all
the filters for that in there more
filters filters but I've been able to
fit quite a few things in this little
room as long as they fit in the milk
crates I can fit them in here and I
could see okay here's all my electrical
stuff okay here's you know these will be
the hoses I'll be able to label
everything find everything I need
because as you can see right now it's a
complete mess okay here's all the stains
and rags old motors I kept the heavy
stuff on the bottom so I know this isn't
it's kind of a specific thing you're not
just gonna have a stud wall anywhere I'm
just like mine but I just found I didn't
know what I was gonna do how I'm gonna
go store all this stuff in that I
realize hey wait all the milk crates I
have fit perfectly in here just rip a
2x4 in half put some particle bore on it
and you have perfect shelving and
storage for all this stuff a room that's
packed full of stuff and it's not that
big of a room it's only six foot wide
but I'm able to keep a lot of stuff in
here at and it's not packed away it's
not like on this shelf here you know I
can't really even see what's back here I
can't find it I have to look for it here
everything is out in the open I can find
it immediately okay here's fittings and
cables and scrap wood and everything is
ready and I can get it immediately and
be able to see it and that's half the
battle is being able to remember what
you have and get to it when you need it
I hope it helps like I said organization
for me is a huge deal and especially
with this limited space that I have so I
hope it helps








No comments:
Post a Comment