3/16/2017

DIY Free Wall Mount for TV or Monitor

I realize that TV and computer wall mounts aren't super expensive, but i wanted to see if i could make one for free.

DIY Swivel Wall Mount - TV or Computer Monitor 


I recently upgraded the computer in my home office and instead of just putting the old one in a closet, i figured that i could mount the monitor on the wall and run some programs separately.  That way the old computer wouldn't be in the way and i could control everything with a wireless keyboard and mouse.

The monitor i was going to use was an old 19" Rosewill monitor and the first thing i did was to remove the stand.  It was attached with some screws on the back.  Also on the back of the monitor was 4 square mounting screws.  So i transfered those screw patterns to a piece of paper.
tv wall mount, monitor bracket, tv mount, wall mount, monitor mount

I started drawing up some ways of making a wall mount.

My first thought was to make a simple french cleat system.  The good thing about that was it was only 2 pieces of wood, it would fit tight to the wall, easy to attach and remove, and be quite strong.

But then i thought it would be cool to make one that swiveled.  That way i could mount it werever and point it toward the desk.  So i came up with the idea of using 2 different sized pipes that would fit inside of each other.

Again this was a very simple design, just 2 pieces, easy to remove and attach.
diy tv wall mount, how to mount tv

I used some cheap metal electrical conduit for the pipes and some steel bar for the parts that attach to the wall / monitor.  I cut and drilled the monitor mount to fit the top holes of the computer monitor.  And i cut and drilled the wall mount 16" so that the screw holes would align with the studs in the wall.
free tv wall mount, diy tv wall mount, how to make tv wall mount

The most difficult part was the welding.  I have a cheap Harbor Freight welder ($90), but i'm pretty bad at welding.  I did have some issues with burning through the conduit.  It didn't look pretty but was pretty strong.
easy wall mount, free wall mount, how to mount tv to wall

I screwed the first bracket to the computer then the other to the wall at the height i wanted.  Then just lowered the monitor pipe into the larger wall pipe.  It seemed to work great and has about 45 degrees of rotation.
make tv wall mount for computer monitor


how to mount computer monitor to wall, free, easy, make

I was also thinking about PVC but it wouldn't have been as strong.  And welding everything together was quick and easy.  If i didn't have a welder it would have been more difficult.

Overall i like how it turned out, a quick, easy and free tv monitor mount.

Attached to back of monitor
bracket to mount monitor on wall

Mounted on the wall.
easy free mount tv monitor to wall

View of back when attached to wall
how to weld tv wall mount, steel, metal, level

View from above.
free easy swivel wall mount, tv monitor

Side view.  You can see how the smaller pipe is on the top.
metal swivel wall mount, cheap tv mount, wall, monitor

View from directly above.
how to make swivel tv wall mount, flat screen

Other side.
easy flat tv wall mount, flat screen, lcd, plasma, led

Profile view of wall bracket.
homemade tv wall mount, computer monitor, inch, swivel

3/06/2017

Fantasy Football Trophy - Make for Free

Our family has a fantasy football league and back when it started i figured that we needed a cool trophy.  I saw that you can buy fantasy sports trophies online, but they were rediculous, costing hundreds of dollars.
make fantasy sport trophy, fantasy football, how to, buy, cheap

Fantasy Football Trophy - Ideas to Make Your Own

https://youtu.be/n5_AI2Ocu_4

So i figured that i could just make one.  The cool thing about making your own fantasy trophy is that you can make it big.  Really big.
make your own fantasy football trophy, fantasy soccer, fantasy baseball

The cool thing about making the trophy is you can personalize it and make it your own.
fantasy trophy, cup, silver, engrave,

We came up with the idea of going to a nearby Salvation Army and finding an old bowl or cup or something to go on top, then make a wood base.  So we went there and i thought i saw the bowl we could use, it was about 5" tall.  But then we noticed this really big bowl, about a foot tall.  When we took a closer look we saw that it was silver and had the inscription Red Run Invitational 1972.  It was an actual trophy cup from a golf course country club in near by Royal Oak.  I think it only cost like $5.
salvation army, silver cup, value village, cheap, used

Old golf tournament cup.
red run invitational 1972 trophy, cup, super bowl trophy

It was then that we realized how big we needed to make the trophy.  With that big of a cup on top, the trophy was going to need to be almost 3' tall.

So i drew up a few designs and settled on a 2-tier box.  I made the boxes out of wood and nailed on a nice edge trim.
how to make a trophy, league, fantasy

I didn't want to damage the cup while attaching it.  So i used a metal plate which fit inside the lower cup and when a bolt was tightened, it clamped down onto the trophy.
how to attach top to trophy, figure, bolt, broke

On the face of the trophy i made a plaque, which was similar to the NFL logo, which said Family Fantasy Football.
engrave trophy, make your own, harbor freight engraver

I used a piece of sheet metal, which i cut out with tin snips.   To engrave the lettering i bought a cheap $4 engraver from Harbor Freight.  They had a small battery powered one, but i got the bigger one which plugged in.  It worked ok, but took lots of practice getting the right speed and right angle.  You don't want to press vertically or else the tip will jump around, you need to hold it at an angle kind of like a pencil.
cheap metal engraver, harbor freight, $4

Then on the lower tier of the trophy i nailed on smaller metal pieces, to engrave the year and name of whoever wins the trophy each year.

Overall i love how it turned out.  It's just small enough to keep in a room on a shelf, but just big enough to look out of place a bit.

Although it does get a little dirty.  This is after cleaning with silver polish after being on the shelf for a year.
silver polish, black, dirty

Maybe next year, if Amari Cooper doesn't tank the last few weeks, i might finally win it.

3/03/2017

3D Filament Review - MonoFiliment Direct - PLA

Whether you are someone that is just starting out in the world of 3D printing and looking for a good all around filament to print with, or someone that prints a lot of parts and wants something high quality and at a low cost, then Monofilament Direct's PLA is a good choice.
Sometimes it's better when a company does one thing and does it well. The two most popular filaments for 3D printing are PLA and ABS and that's exactly what Monofilament Direct offers.
monofilament direct filament pla

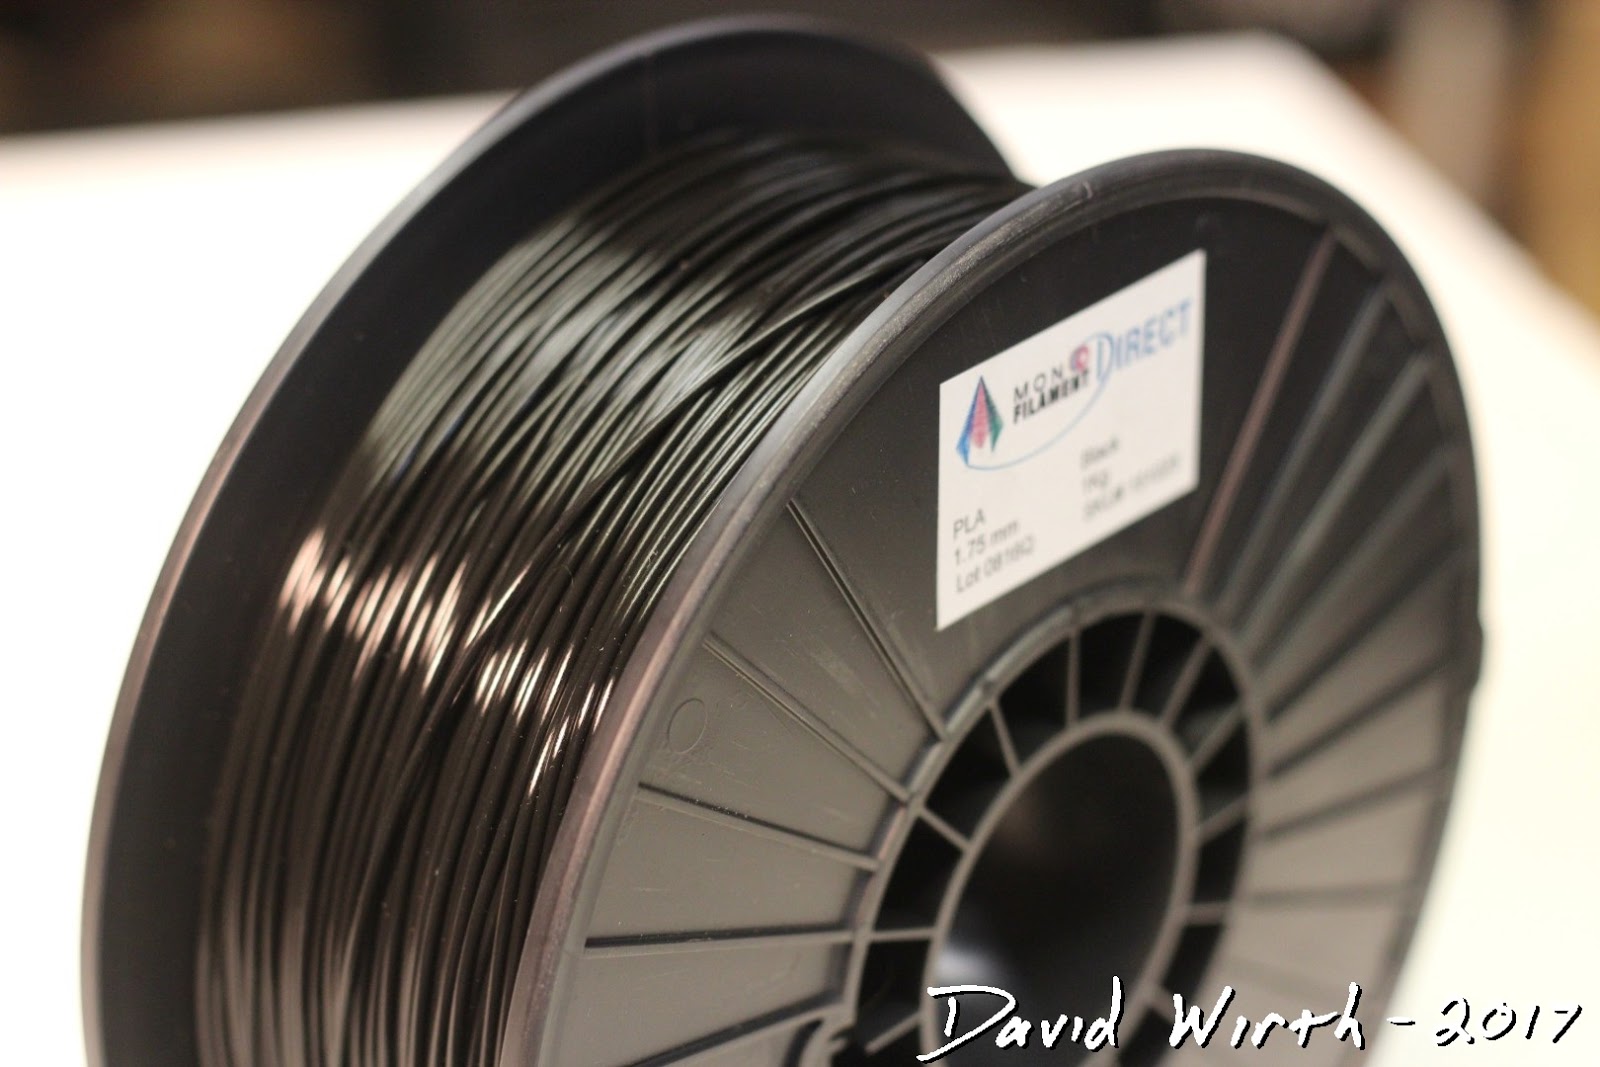
Right away i liked the look of this glossy black PLA filament.
monofilament direct

For more info you can also watch the video i created where i go into more depth about the filament and clips of it being printed:


3D Filament Review - MonoFilament Direct


https://youtu.be/K8adVPPD5Ww

FILAMENT

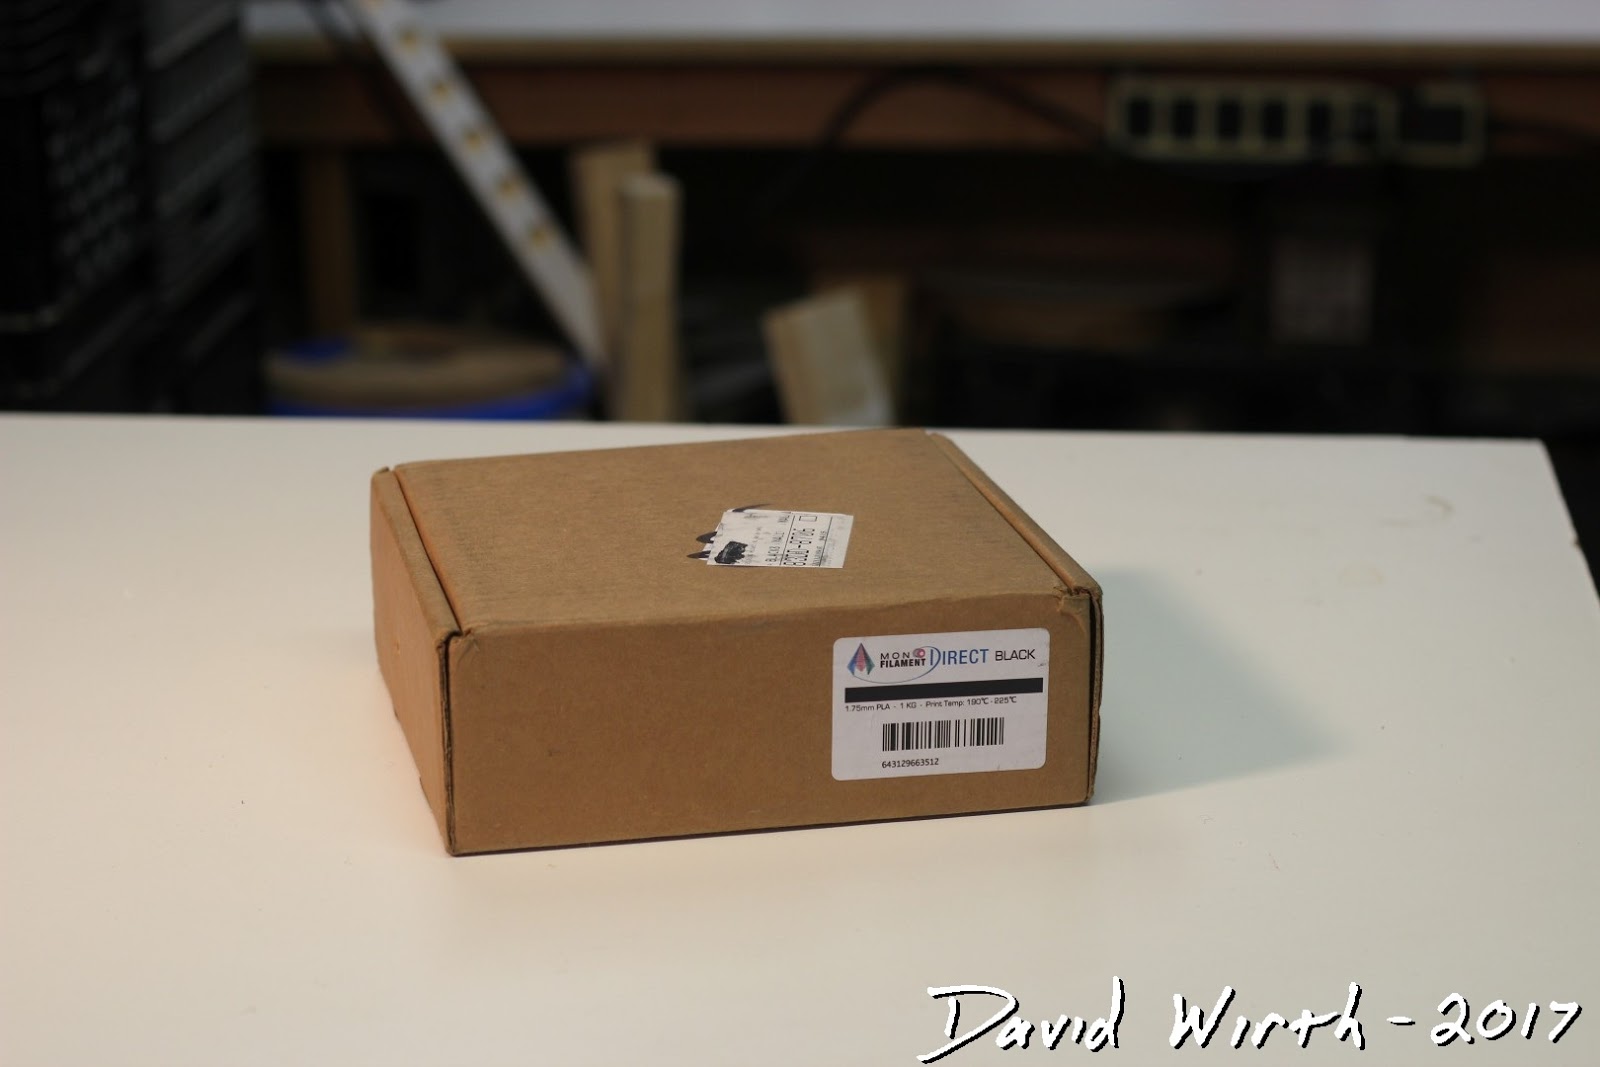
I received a roll of their PLA filament for testing and review. When you order a roll from Monofilament Direct it will come in the mail looking like this:
filament shipping storage

Close-up of information on the box.
filament printing information
The PLA filament itself will come wrapped air-tight and look like this:
shrink wrap pla filament dry desicant

3d filament storage, air tight, dry
And when they say 1 kilogram they mean 1 kilogram. The spool is fully wrapped. Some other companies try to save money by only giving you 750mg and put it on a smaller roll, but Monofilament Direct's roll is full size.
1kg roll, full size, cheap filament, pla

basic pla filament, 3d printer
I received their black PLA, it had a very shiny surface and consistently measured 1.75mm in diameter. I really liked the black color, it made a lot of the parts i printed look more professional. I found myself printing the black PLA because i knew when it was done it would blend right in.
best filament for printing parts

For example, here's a fan adapter that i printed, added to my printer and it's hard to tell what is the stock part and what is the 3D printed part.
rapid prototyping parts, filament, 3d printer

COMPANY

Monofilament Direct's website is very clear and straightforward in what it offers. It makes it easy to quickly make a decision about what filament you want.
monofilament direct website .com cheap pla
They sell their PLA in every color you would want and every size. They even sell 2kg and 4kg rolls.
what is the best cheap pla to buy
I do wish that there was a little bit more information about the filament and how it should be printed. For example they don't give you the range of temperatures that it can be printed, whether or not you need a heated bed, tips for bed adhesion, and properties of the filament itself. It's also nice if the print temps were printed on the roll as well. Not that it's super important with PLA since it is so easy to print with and works with a wide range of temperatures.

TEST PARTS to be PRINTED

I decided to print 4 test parts, each of which will show a different characteristic of the filament: 1. Chess Piece - (OVERALL) This is a good overall part to show how the filament will print. It has smooth round lines, slight overhangs, and detailed ridges at the top. If this chess piece prints well in all areas then you can be confident that it will print everything well. 2. Bottle Opener - (STRENGTH) I wanted to print the bottle opener to test the filament's strength in a typical, everyday type of part. See how it reacts to bending, stress, strain, tension, and compression. Whether the printed part will be rigid or deform when a force is applied to it. 3. Carabiner - (DUCTILITY) Similar to the bottle opener, the carabiner needs to be strong in tension, but it also needs to bend. This may be a difficult test for filament like PLA which typically has a rigid characteristic. 4. Yoda - (DETAIL) Both of these parts will really require the printer to be able to print in great detail and need to handle tricky overhangs. The settings for these parts will have to be slowed down to print accurately.

SETTINGS

Like i just said, PLA prints very well under a wide range of settings. So the settings i used can be thought of a just a general guideline of where to start. Also i used Cura v15.04.06 because of it's clear and simple settings layout. For filament that is more difficult to print with, a different slicer program may be needed, and more advanced settings may need to be adjusted.
The first thing i do after opening Cura is to import a saved profile for PLA filament, then drag in the part to be printed. Obviously the 4 different test prints will need to have some settings different from each other. The Bottle Opener, which is focused on strength, will need a higher infill percentage but can be printed at a faster speed and higher Z axis. Where as the Chess Piece and Yoda will have little to no infill, but printed slowly for more accuracy. There are no specific suggestions for printing with their PLA, but the following is a good baseline to start with:
pla cura settings, simplify3d, slic3r,

And here are the Advanced settings.
cura advanced settings, version
I set my extruder temp right around 200deg C, and print speed around 40mm/s. I did use a heated bed even though it probably would have had good adhesion without it. Any other setting changes like retraction and shell print speed were only minor changes from the base setting. Once the gCode is saved and loaded into the printer we are ready to start printing.

PRINTING

I prefer to print directly onto glass and the majority of time i will coat the surface with a glue stick. However i did print Monofilament Direct's PLA on the glass without a glue stick and didn't have an issue. But there's nothing worse then being an hour into a print and have it lift off the print bed, so using a glue stick isn't that much work when using glass. Blue painters tape or hairspray would have worked well also. The PLA printed its first layer very well. I did not have any issue with the filament clogging or sticking to the nozzle. Sometimes it takes a bit of time before the filament is extruded, but this PLA printed almost immediately.

Before the printing starts i will manually slow the speed of the print down by roughly half, to ensure that the filament sticks to the print bed. After the first couple of layers are secure i manually turn the speed up to full.

filament on glass bed
The filament flowed very well, wasn't runny or stringy at all, and printed very clean lines.


PARTS

Here's the printed results:
best results of pla printed abs petg

And here are some close-ups:
close up 3d printer


REVIEW

My initial thought on this filament was that it might be something that's good at printing whatever you want. After seeing the results of the test prints, my thoughts were confirmed. Monofilament Direct's PLA printed great for everything. Right out of the box i was printing great looking parts that i could use on my printer and it did not look at all out of place.
best cheap 3d printer, parts, results, review


prototyping parts, 3d printer

This filament printed well with any temperature i selected and any changes to the settings were only minor tweaks. I didn't have any issues with adhesion to the bed or clogging in the extruder. The overall look was clean, sharp and shiny.

The chess piece turned out quite good in a few areas. The top detail was sharp and crisp and the curved edge was smooth. The only issue i had was more from the limited ability of my budged 3D printer. The overhang required me to print slower or have a larger fan. Once i slowed the speed down the results were much better. Again, more a limitation of my printer's ability to cool off filament quickly.

black PLA filament

The carabiner showed the typical properties of a PLA. Very rigid and not a lot of ductility, but the part itself seemed quite strong in its rigidity.
3d print camping equipment

The bottle opener printed very well, the curved line edge was incredibly smooth. There was no flex in the arm and overall looked great.

3d printed bottle opener

Again i printed all of these parts, including the Yoda head, at 0.3mm z-height. Even with that large step up between each layer, the Yoda head looked very good. I did print this with an overhang but in hindsight i don't feel like i needed to. The PLA was very crisp and clean and looked really good.
yoda head, free, star wars, print, model

This filament is perfect if you want to print a ton of prototype parts and need a large amount of filament to print with. Also with a beginner printer like the Monoprice Select Mini it is a filament that prints with absolutely no problem. So if you are just learning about 3D printing and are looking for a filament that produces nice clean prints then Monofilament Direct's PLA will definitely work for you. The black PLA will look very professional and make the things you print look like you know what you are doing.

Visit Monofilament Direct to get a roll.

3/02/2017

Remove and Replace Battery - Pontiac Grand Prix

You would think that replacing a car battery would be easy right?  Maybe take 10 minutes max?  Not with my 2005 Pontiac Grand Prix.


How to Replace Car Battery - GM Pontiac Grand Prix

https://youtu.be/4B_T_wo5JMk


And you never have to change your battery in the summer, you always end up having to replace it in the middle of winter.  It happened to me when i realized that it was getting harder and harder to start the car.  I figured that i better change it before i got stranded somewhere.
how to change battery, pontiac grand prix

So i did what i usually do, went on SlickDeals and searched for Advanced Auto Coupon Codes.  They always have big discounts when you buy online from Advanced Auto, the code is usually something like TRT30, TRT41, etc...  
advanced auto coupon, trt30, trt40, trt41, slick deals

There's several and you have to find the best one for the biggest discount for what you are buying.  Sometimes the 30% off is the best.  This time i got $40 off when you spend over $100.    So the battery was $124 plus a $20 core charge which equaled $144.  So in the end it cost us $90 after tax and returning the old battery.
cheap cheapest battery advanced auto, car battery

After picking up the new battery i assumed that it would be a simple matter of loosening 1 bolt and swapping the batteries.  Nope.  
cannot remove battery from car, frame rail, grand prix

When i first looked at it, i thought, it can't be this difficult.  The car battery was underneath a steel cross bar frame rail and tucked behind one of the main electrical boxes.  So the only way to change the battery was to loosen the bolts which held the frame in place, then take off the nuts on the top of the electrical box.  Then i could use an extension to remove the bolt and battery latch.  Then with one hand lift up on the electrical box and with the other hand turn the battery sideways and lift vertically through the opening.
how to remove car battery, install new car battery, what, how, when

While i had it out i cleaned all the dirt and stuff in the bottom of the battery box.  Also i used a wire brush to clean the contacts on the positive battery cable.

To install the new battery i had to repeat the same process of lifting the electrical box, turning the battery on its side and lowering it down.  Then replace the electrical box nuts, re-bolt the frame cross-bar into place, re-bolt in the battery locking plate, then connect the + and - wires.

All in all it wasn't super complicated, but a real pain to have to go through every time you need to replace your battery.