eSun PLA+ - Filament Review
One of the most common questions that people ask after just getting a 3D printer is, "What's a good filament to start out with?" eSun is the most common response that people get. That's because they provide a reliable, easy to use, high quality filament at a great price.
For a more indepth review you can watch the video i made as well:
eSun sent me a roll of their new PLA+ filament. I wanted to show people what type of results they could get from printing with this filament. I wanted to focus on how the filament prints, settings, and the look of the finished 3D part.
They offer several different types of filament on their website, with a lot of good information for printing. Here's a look at their website:
FILAMENT
eSun's PLA+ is perfect for beginners just starting out, who are looking for a filament that is easy to print with under a wide range of settings. Someone that wants to get their first prints to look good, but doesn't quite know all the finer details of their printer and everything about the gCode settings.
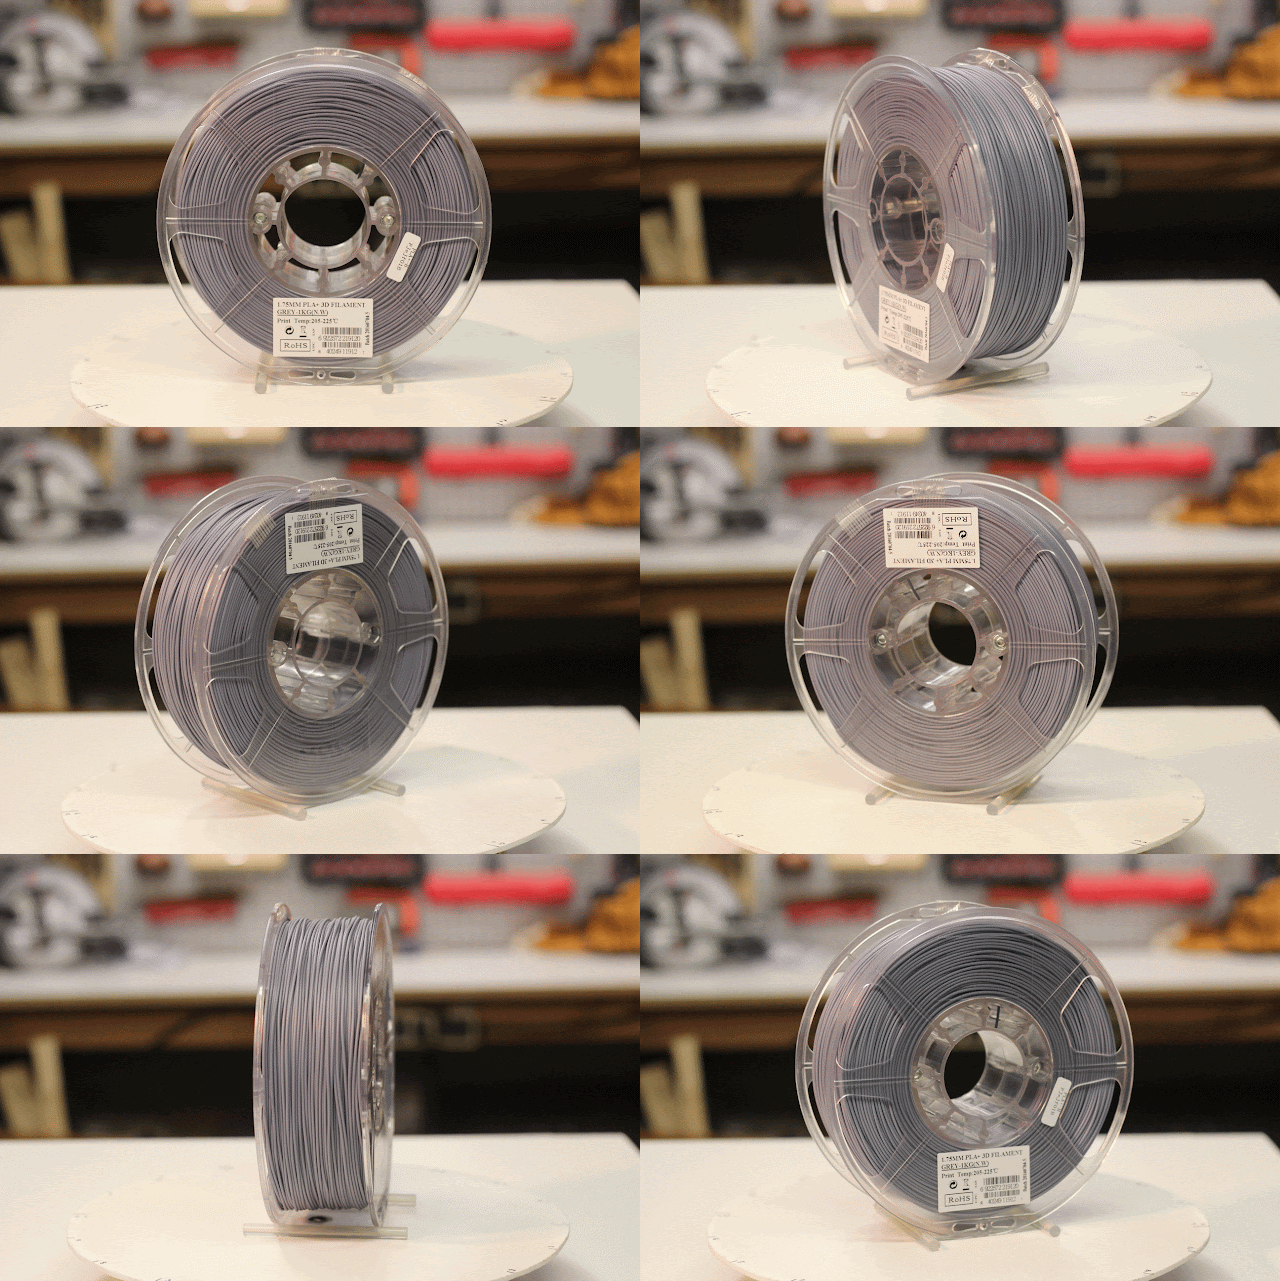
It comes in several colors, i tested their Gray color:
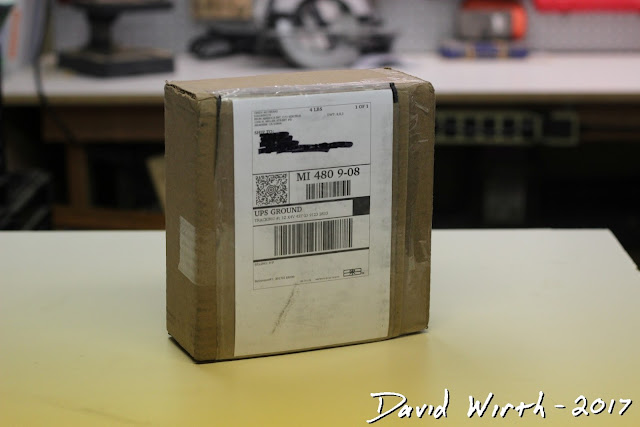
Here's what it looked like when it came in the mail.
Shipping and packaging.
What's in the box?
How the filament is wrapped.
And here's what it looked like wrapped in an air-tight bag.
Window for seeing the filament itself.
It's always nice when the roll is clear and you can immediately see how much filament you have left. This is usually the type of thing that is only on more expensive rolls of filament.
They also put the printing temps right on the roll which is great to have as well. Every company needs to do this.
How the eSun filament is wrapped.
Also it's also nice when they give you a full 1 Kilogram roll, not just the 750 gram roll.
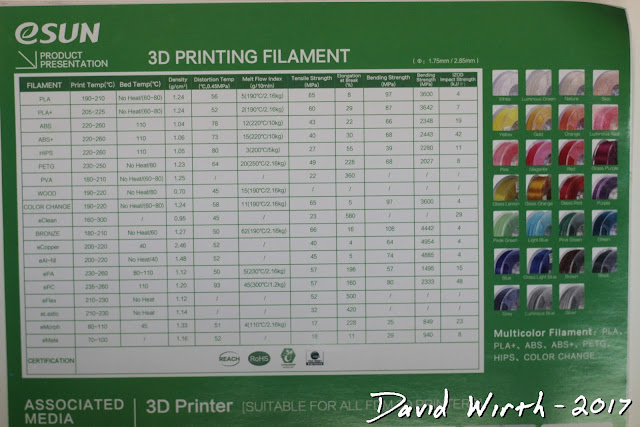
The filament was in a box with some basic information on it. But something that eSun does that i think every company should do, was to include a sheet that has all their filaments, examples of their uses, and all the print settings they suggest.
Really useful chart for all their filament, printing, temp, strength, etc.
Some companies will just send you their roll of filament and say "There you go." It was so nice to have all the information on a convenient card, so you don't have to guess or go look up the best printing temperatures.
The gray PLA+ filament that i had was a matte finish but looked very smooth.
One thing i noticed is that eSun sells PLA and PLA+ on their site and both cost $21.50. My guess is that the PLA+ is their new formula for PLA with some additions to it, to add features they say like additional toughness, smoother, higher gloss. It's probably good of them to not just change how a filament is made, so now they are offering 2 different types.
On the roll itself it says that the extruder printing temp is 205-225. But i noticed that on their website it says that PLA+ should be printed between 190-220 deg C. The good thing about PLA is that it prints well under a very wide range of temperatures, i'm guessing that any of these temps will work.
Also online they suggest a print bed temp of 0 - 65 deg C.
Fan speed of 30 - 90 mm/s
Idling speed of 90 - 150 mm/s
COMPANY
eSun seems to have everything worked out as far as what to provide their customers. They have a clean straightforward website with plenty of information about their filament.
Their filament product page clearly shows what you are buying and settings for printing.
From their website to their shipping box to their filament, everything has a feeling of high quality.
TEST PARTS to be PRINTED
I decided to print 4 test parts, each of which will show a different characteristic of the filament:
1. Chess Piece - (OVERALL) This is a good overall part to show how the filament will print. It has smooth round lines, slight overhangs, and detailed ridges at the top. If this chess piece prints well in all areas then you can be confident that it will print everything well.
2. Bottle Opener - (STRENGTH) I wanted to print the bottle opener to test the filament's strength in a typical, everyday type of part. See how it reacts to bending, stress, strain, tension, and compression. Whether the printed part will be rigid or deform when a force is applied to it.
3. Carabiner - (DUCTILITY) Similar to the bottle opener, the carabiner needs to be strong in tension, but it also needs to bend. This may be a difficult test for filament like PLA which typically has a rigid characteristic.
4. Yoda - (DETAIL) Both of these parts will really require the printer to be able to print in great detail and need to handle tricky overhangs. The settings for these parts will have to be slowed down to print accurately.
SETTINGS
I printed a few small objects to get a feel for how the filament prints. Immediately i had good consistent results with my baseline PLA settings.
Also i used Cura v15.04.06 because of it's clear and simple settings layout. For filament that is more difficult to print with, a different slicer program may be needed, and more advanced settings may need to be adjusted.
The first thing i do after opening Cura is to import a saved profile for PLA filament, then drag in the part to be printed. Obviously the 4 different test prints will need to have some settings different from each other. The Bottle Opener, which is focused on strength, will need a higher infill percentage but can be printed at a faster speed and higher Z axis. Where as the Chess Piece and Yoda will have little to no infill, but printed slowly for more accuracy.
There are no specific suggestions for printing with their PETG, but the following is a good baseline to start with:
Basic Settings
Advanced Settings
I printed all test parts at 205 deg C with 55 deg C bed temp, but a wide range of temps would also work fine. Also i had the layer height set at 0.3mm. This is typically not good for detail or accuracy, but i wanted to push the filaments to its limits and see where it may fail.
Once the gCode is saved and loaded into the printer we are ready to start printing.
PRINTING
Typically i like to print directly onto glass with a heated bed, and 90% of the time i use a glue stick to insure adhesion to the glass bed. However, for this PLA+ filament a glue stick was not needed. This adhered to the glass bed very well without any glue stick. And after the first print i did not use any glue stick and had great results. I'm guessing that it would have worked just fine printing onto masking tape, non-heated bed, or hairspray.
I always pay great attention to the first layer, removing any stray filament, and remove any filament that may clump onto the nozzle.
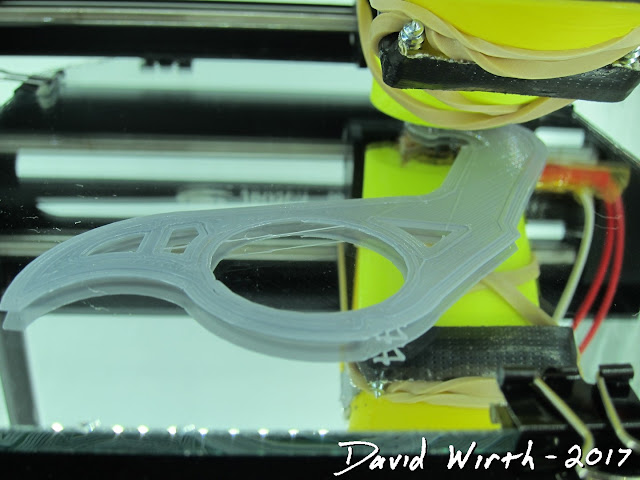
Printing directly onto glass with no problems.
Before the printing starts i will manually slow the speed of the print down by roughly half, to ensure that the filament sticks to the print bed. After the first couple of layers are secure i manually turn the speed up to full.
This filament flowed great, i had zero issues with runnyness, clogging, or stringing.
PARTS
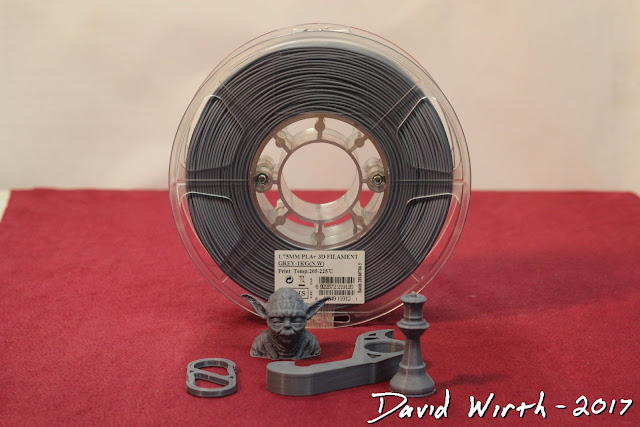
Here's the printed results:
And here are some close-ups:
REVIEW
This filament is the perfect PLA for every situation. When people say that PLA is a good filament to have and use because it work for everything...eSun's PLA+ is what they are thinking of. It's easy to use, easy to print, gives great results, and works under a wide range of settings and printer qualities.
One thing i'd like to emphasize is that if someone is having issues with adhesion to their print bed, they should definitely give PLA+ a try. Out of all the filament i've tested, eSun's PLA+ has the best bed adhesion.
All of these factors mean that this is a perfect filament for someone that prints a lot of parts and doesn't want to go through the hassle of prepping the bed and tweaking settings. It's also great for a beginner that wants to get great results right from the start. And if someone has a beginner printer, they can print with this filament and have it look like it was done with a more expensive printer.
It was a joy to print with, the results were very smooth lines between layers, and great for a beginner. There was no droopyness or issues like you might get with a PETG. The overall look was great.
The chess piece printed very well in all aspects. The PLA+ had no trouble with the overhang. There was no drooping or sagging. The overall curved lines were crisp and even the detailed top portion was very precise.
Again all the lines on the bottle opener were very clean. As far as strength, the frame of the bottle opener was reasonably strong. There was no flex, as is expected with PLA.
Similar to the characteristics of the bottle opener, there was little to no flex in the carabiner. It appeared to show reasonable tensile strength, but with little to no flex. However the spring clip portion of the carabiner did bend for opening and closing.
This is the type of printed object where eSun's PLA+ really shines. From the first layer to the end it printed extremely well and detailed, having no issues with crevaces and overhangs.
FINAL SUMMARY
If you are looking for an inexpensive filament that you can use for any situation, eSun's PLA+ is it. I have to say that the look and feel and information you receive feels like it would cost more than it does. Plus the fact that they give you a big 1 kilogram roll, means that you can print a lot.
This is perfect for everyone, just a go-to PLA that works for everything.











2 comments:
no benchy?
nice review. Could you also give the retractation lenght and retraction speed you used for this esun filament ?
Post a Comment