ColorFabb nGen - Filament Review
So you are looking at buying a roll of filament to improve the quality of your 3D prints and you're trying to decide what to get. Take a look at ColorFabb and their new nGen Filament.
For a more in depth review you can watch the video i made as well:
colorFabb - NGEN - 3D Filament Review
https://youtu.be/zk2ZC9rndfY
ColorFabb sent me two rolls of their new nGen filament to review. I wanted to show people just starting out with 3D printing new types of filament that they can print with and get amazing results. I wanted to focus on how the filament prints, settings, and the look of the finished 3D part.
You can buy lots of high quality filament from ColorFabb, but nGen is a filament that looks to be perfect for all around situations.
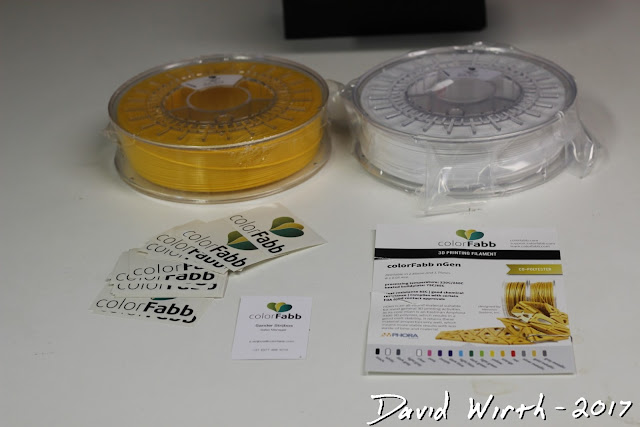
Just some of the information they send when you order a roll.
FILAMENT
I feel like the nGen filament is intended for someone who wants to print a very high quality finished part. When you think about it, people spend loads of time an money on your 3D printer, then go out and buy some cheap lesser quality filament to print with. I'm convinced that if they tried this ColorFabb nGen filament they might not go back to PLA.It comes in several colors, i tested two rolls, which were white and yellow.
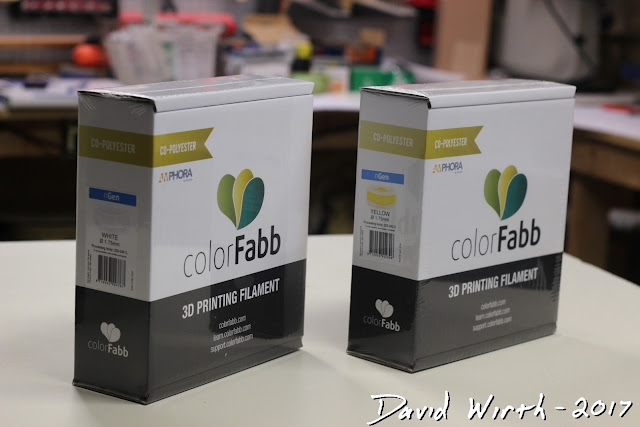
Each roll of filament was also delivered in a smaller box, which had loads of information about the filament. I think it's great when the company doesn't just send you a roll and say "here". It's nice when they say "we've tested this, we recommend you print at this temp and at this speed to get the best results".
Really well packaged.
Filament type and printing temps on the side of the box.
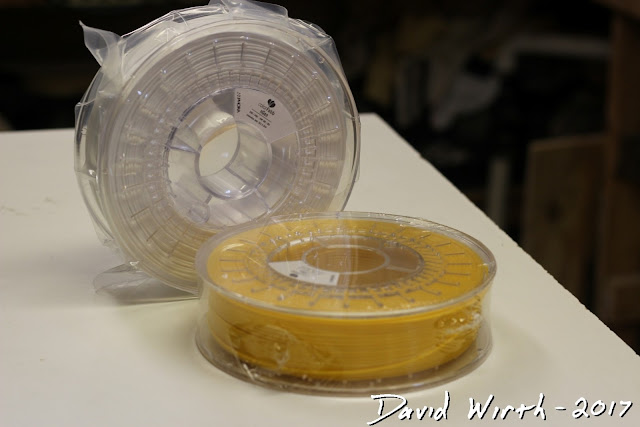
Double plastic wrap for air-tightness.
Printing information on the back of the box.
Close-up of the side of the box.
You can see that they give the color, size, and printing temp range.
Another view of the 2 colors of filament.
And again the printing temperature range is printed right on the roll, which is super convenient.
The overall look and feel of the filament is not like any other filament i've seen. It's very pliable and bendy, yet it has a shiny surface. It isn't like a PLA or PETG. However they recommend that you print with the extruder set between 220 and 240 degrees C, so i think the filament is probably closest to a PETG. They also recommend that you use a heated bed set at 70 to 80 degrees C, which is also similar to a PETG.
COMPANY
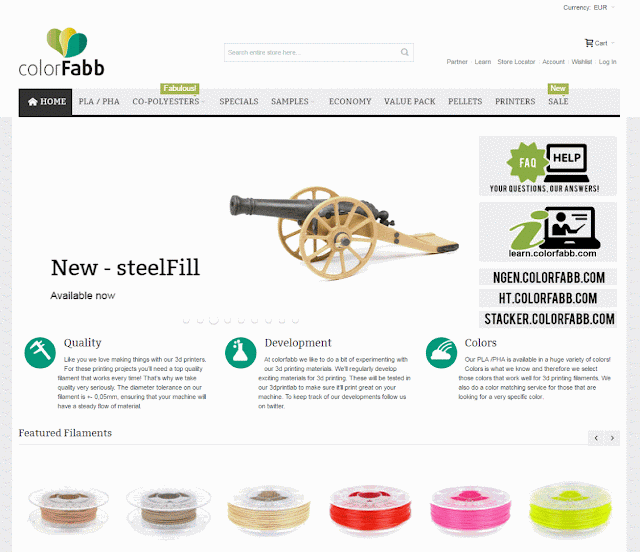
You can tell from looking at their website that ColorFabb has their *bleep* together. They sell all different kinds of filament and have loads of support and information about them.Here's their nGen page, which has several colors to pick from.
From their website to their shipping box to their filament, everything has a feeling of high quality.
TEST PARTS to be PRINTED
I decided to print 4 test parts, each of which will show a different characteristic of the filament:1. Chess Piece - (OVERALL) This is a good overall part to show how the filament will print. It has smooth round lines, slight overhangs, and detailed ridges at the top. If this chess piece prints well in all areas then you can be confident that it will print everything well.
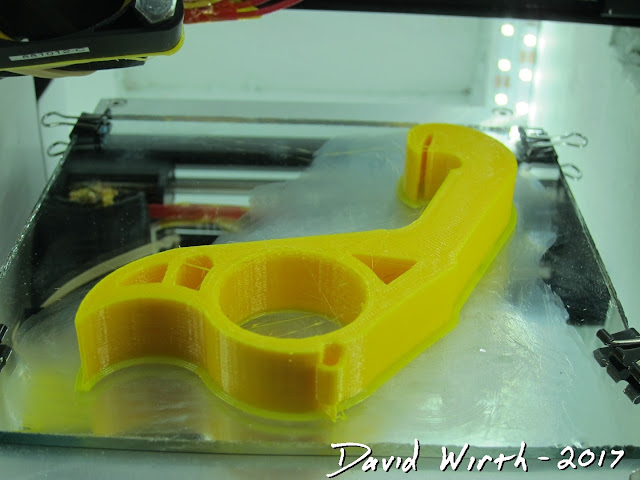
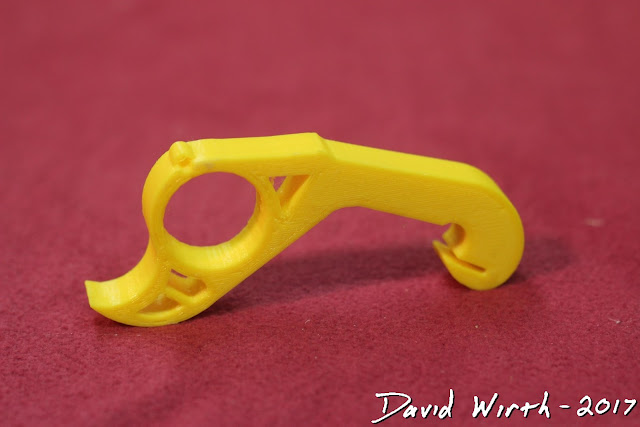
2. Bottle Opener - (STRENGTH) I wanted to print the bottle opener to test the filament's strength in a typical, everyday type of part. See how it reacts to bending, stress, strain, tension, and compression. Whether the printed part will be rigid or deform when a force is applied to it.
3. Carabiner - (DUCTILITY) Similar to the bottle opener, the carabiner needs to be strong in tension, but it also needs to bend. This may be a difficult test for filament like PLA which typically has a rigid characteristic.
4. Yoda - (DETAIL) Both of these parts will really require the printer to be able to print in great detail and need to handle tricky overhangs. The settings for these parts will have to be slowed down to print accurately.
SETTINGS
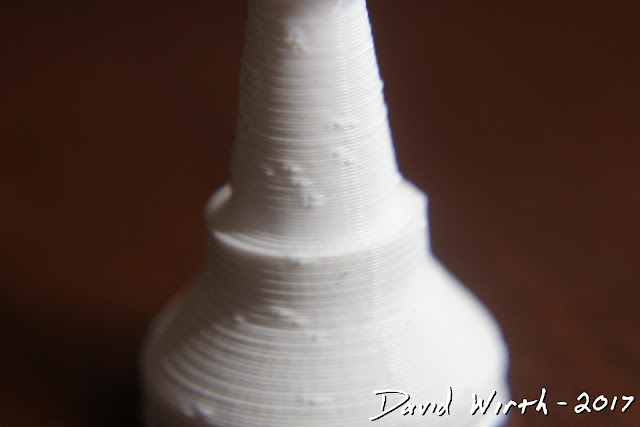
I printed a few small objects to get a feel for how the filament prints. The small parts came out really well, but one thing that stood out was that if the hot end pauses during printing, there is some oozing of the filament, similar to a PETG.You can see that there were small blobs on my very first prints using a PLA baseline setting, which is mainly an issue with my very basic MP Select Mini printer. It did not make a smooth arc, but instead paused at that point in the curve. Again, not a fault of the filament, but adjustments that needed to be made in the Cura settings.
So i thought a good starting point for settings would be to import a baseline PETG setting. I used Cura v15.04.06 because of it's clear and simple settings layout. I also tried creating the gCode with the newer version of Cura and Simplify 3D, but i didn't see much of a difference.
You can see that the detailed areas came out very good, even at the large 0.3mm layer height.
Once you set the extruder temp and heated bed temp that ColorFabb suggests, the most important settings for nGen is speed and retraction. I've found that for corners or with detailed prints, if i slowed down the speed it printed very well. Also i tweaked the retraction speed and retraction distance to get rid of the above mentioned blobs when the printer paused.
Again this only happens on certain parts and is probably an issue with my cheap printer. But by increasing the retraction speed and distance i could get the oozing to go away. I probably could have lowered the extruder temp as well to lessen the oozing.
Now obviously the 4 different test prints will need to have some settings different from each other. The Bottle Opener, which is focused on strength, will need a higher infill percentage but can be printed at a faster speed and higher Z axis. Where as the Chess Piece and Yoda will have little to no infill, but printed slowly for more accuracy.
There are no specific suggestions for printing with their nGen, but the following is a good baseline to start with:
Basic Settings
Advanced Settings
Once the gCode is saved and loaded into the printer we are ready to start printing.
PRINTING
I like to print directly onto glass with a heated bed and 90% of the time i use a glue stick to insure adhesion to the glass bed. They recommend that the heated bed be set around 75 degrees C, but i've found that it sticks very well at any temp above 50 degrees C.I always pay great attention to the first layer, removing any stray filament, and remove any filament that may clump onto the nozzle.
Before the printing starts i will manually slow the speed of the print down by roughly half, to ensure that the filament sticks to the print bed. After the first couple of layers are secure i manually turn the speed up to full.
Again with the high strength and bendability of this filament, it made for great structural parts for the printer. I was not at all afraid of these clips and belt tensioners of breaking, like a basic PLA might.
PARTS
Here's the printed results:And here are some close-ups:
These were printed after the white. You can see how well the chess piece turned out after the retraction was set correctly in Cura.
Notice how smooth the bottle opener printed once i had the settings dialed in.
REVIEW
This is one of the nicest filaments i've ever printed with. If i had to give one description of it, i would say "buttery-smooth". The filament printed very easily and the parts came out with one layer blending into the next. Even with a beginner printer like mine, the 3D parts came out looking like they were printed on a much more expensive machine. There was no adhesion issues with my glass print bed and it was very forgiving with the majority of settings. Once you have the speed and retraction dialed in, it prints great. And although it was printing around 230 degrees C i did not have any issues with drooping or sagging during the prints.As mentioned above my first baseline print of the chess piece came out with some blobs where my printer paused as it raised up the 0.3mm layer height. After adjusting the settings i was able to get a nice smoother finish.
On this piece you can see that it has a super smooth finish on the curved edges. And as far as the overhang and detail at the top...this filament printed very well.
I had no problem printing the bottle opener. All the lines came out very clean and had zero issues with any imperfections.
The filament itself was incredibly strong. There was some bend to it but it showed no signs of breaking.
Again for the caribener this filament was excellent in its ductility and strength.
Not rigid like a PLA, the nGen was able to bend and spring at the flex point, yet showed tensile strength.
Even at 0.3mm layer height the Yoda heads came out excellent.
There was no droopyness while printing the ears and there was loads of detail in and around the face.
Final Summary
I do have to say that at 36 Euro there are cheaper filaments out there. But in this case you totally get what you pay for. ColorFabb's nGen filament is something you want to use when you are printing a part to show off or for a professional part. Ya you can screw around with cheap PLA for little printed things you don't care about, but when you want it to look perfect, nGen is the way to go. So if you are a beginner 3D printer that is looking to take the next step in 3D printing, ColorFabb's nGen is something you should give a try.If you've ever printed with nGen filament let me know what you think. I bet that you've had the same experience that i've had. And if you haven't tried this filament you definitely should.
Visit ColorFabb to buy a roll.
















1 comment:
Thank you for the great review, Dave!
Post a Comment