Build Bunkbed From Bed Frames
Bunk Bed Plans - Build Dimensions
https://youtu.be/mipVu-hVmrA
Several years ago i built two twin beds for Karrie's sisters. Here's a link to that original blog post, including plans and dimensions.
I also made a headboard for a queen bed.
DIY - How to Make a Wood Headboard
https://youtu.be/pS8ufHocb20
And here's a link to that blog post, the headboard itself only cost $16.
The goal was to make a bed cheaply out of pine and particle boards from a store like Lowe's.
I think i make both beds for about $50 each in materials.
They were made with cheap pine lumber 2x4's, 2x6's and 4x4's. They held up well but now they need more space in their rooms. And since they are older, bunkbeds were the perfect option. I figured that i could cheaply and easily turn their twin beds into bunkbeds by just replacing the bottom legs with longer ones. There was more to it than that, but that's the basic idea.
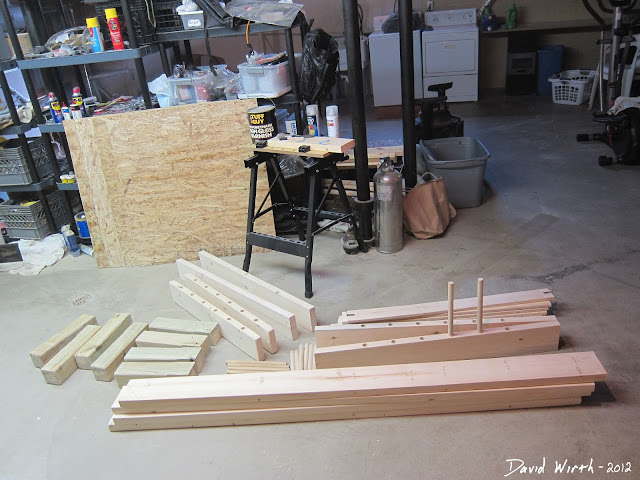
Here are the basic materials i used.
This was gluing up the headboards and top legs.
Here's the cut and finished parts, ready to assemble.
The first thing was to determine the height of a bunk bed. I figured that the bottom bed would stay the same height off of the floor, which was about 12". The height of the ceiling was 7'. It took a while to determine the other spacing, from the bottom bed to the top bed then the top bed to the ceiling.
This was a good plan to have, it gave me the right spacing from the bottom bunk to the top.
This was my final plans to use for getting the spacing from the mattress to the upper bed.
Also i wanted to use two 8' 4x4 posts for the new legs. That way all i would have to replace were the legs on the bottom bed, the top bed would stay the same. After i determined the spacing i wanted, i had to "convert" the dimensions to work with the 12" top bed legs and 5.5" bed side board.
First i cut the 4x4 posts to length. Then i drilled a hole in the top of the post. That hole would be for a steel pin. I took the same idea as the bunk beds they had at MSU, where the beds were joined with simple steel pins at each corner.
Here's the pin connections that they used.
You can see that when the beds are pushed together you can't see the connection.
I cut some 1/4" steel rod to make the pins for the corners.
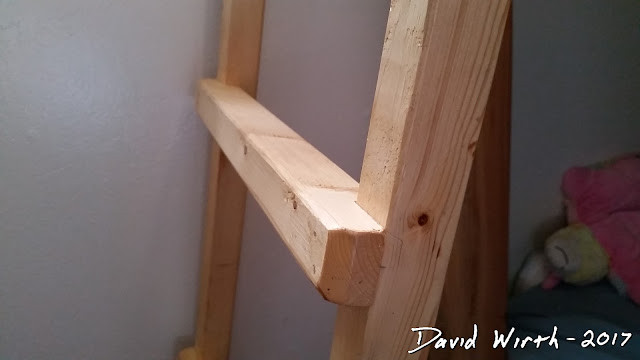
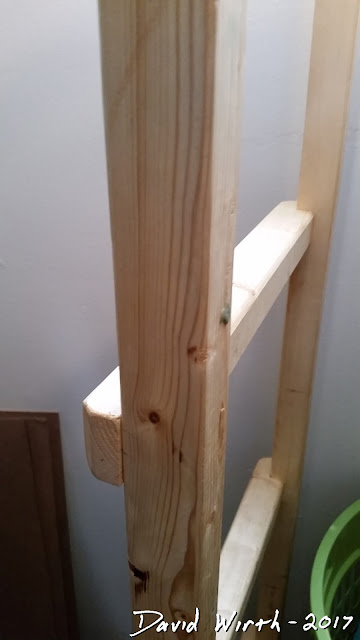
Next i made a ladder to get to the top bunk. Again i used pine 2x4's ripped i half. I notched the cross bars for the steps, then screwed and glued them in place.
Here's the parts before putting it together.
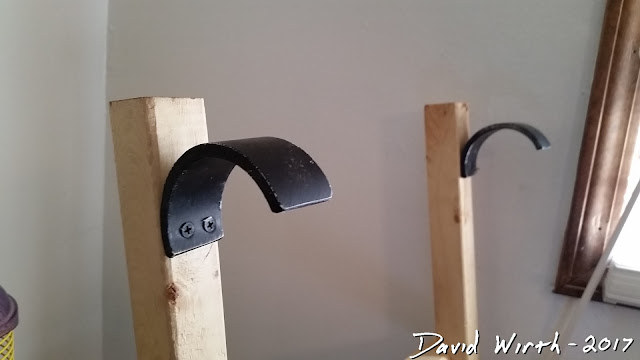
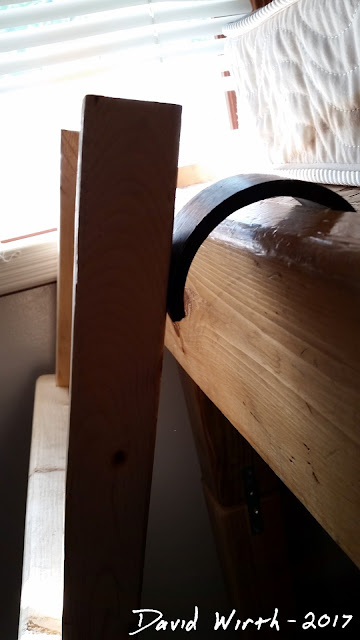
I didn't want to permanently attach the ladder to one spot, so i made hooks out of PVC pipe and attached them to the top of the ladder. Hopefully that would keep it from falling backward when someone climbed up.
Here's the joint i used to connect the sides to the rails.
I also made a railing for the top bunk to keep anyone from falling out. I made it the same way as i made the headboard with a 2x4 at the top and 1" dowels for the uprights.
Here you can see how i had to drill into the top rail.
Again i had to guess at the height above the mattress that it needed to be.
Once done, i sanded and polyurethaned everything.
The rest of the work i had to do at the house to the old bed. Once there i drilled matching holes for the steel pins in the bottom of the legs for the top bunk. Then i drilled the holes in the side rail for the new railing. I glued and tapped the new railing in place.
I used a jigsaw to cut out notches for the new 4x4 legs to extend through. I used the old legs as templates and drilled new holes in the 4x4 posts for the steel bolts. Bolted on the new longer bottom legs and then lifted the top bed onto the pins.
Just in case, we added metal brackets to prevent the top bunk from coming apart. Then with the ladder in place it was all done. Giving a lot more room for the girls.


