I always wanted a laser line marking guide on my miter saw. I was about to buy an add-on laser line, but didn't like the fact that it had to be spinning to turn on.
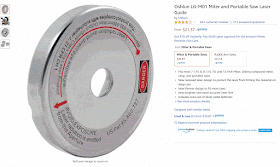
This is what the laser line add-on looked like. Not bad For $20.
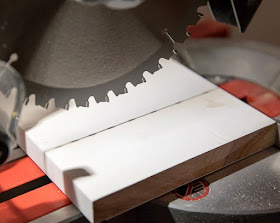
This Milwaukee saw is one of the first ones that has an LED light on the tip of the blade. It shins down and the shadow is visible on the board.
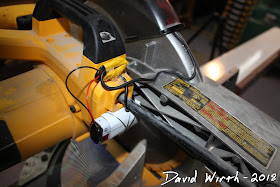
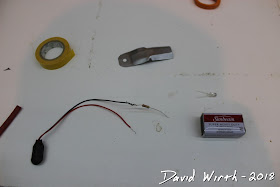
It's pretty simple, a switch, 9v battery, resistor and LED light bulb. That and all the wires.
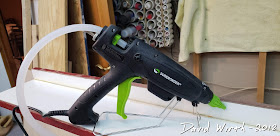
I used a hot glue gun to secure everything. That way nothing was permanent and i could peel it all off and wouldn't leave a mark.
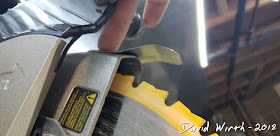
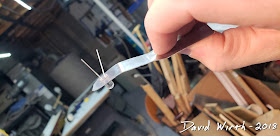
This is the most critical part, where the LED light mounts on the end of the blade guard.
Here's the LED bulb on the end of the metal mount.
And here's the original switch i wanted to use. It's mounted on the handle so that the button can be pressed, the shadow line shows up, and then you make the cut.
Here's some of the parts. Especially the 220 ohm resistor. That's needed because the LED bulb only can handle 5v not the full 9v battery.
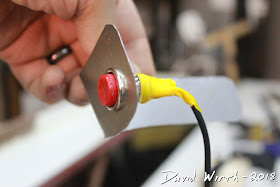
Here's how the switch was mounted.
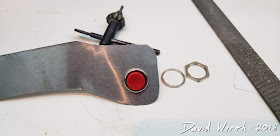
It turns out that the red button switch was always ON. Pushing the button turned it OFF. So i had to find a new switch. This one's from an old arcade button.
So this one had to be replaced.
This is what the shadow looks like. Great for knowing exactly where the edge of your blade is.


