10/04/2017
How To - Insulate Hotend of 3D Printer to Prevent Clogs
How To - Insulate Hotend of 3D Printer
https://youtu.be/hx6azXuIHkQ
Previously i wrote about how i was getting filament clogs in my extruder and i showed how i had to disassemble everything to remove the clog.
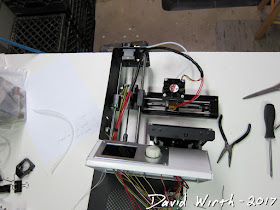
It was scary the first time you take your printer apart this much.
And have the electronics laying out.
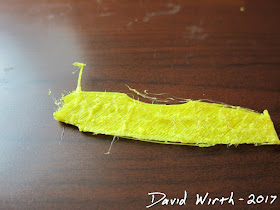
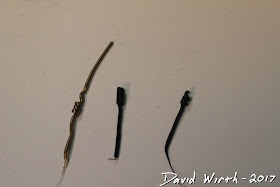
It turned out to be a problem with the filament prematurely heating up inside the heat sync, coiling in the PTFE tube, and being unable to push through the tapered hole. Unfortunately the problem happened a few more times and i started to get sick of prints getting 90% done, two hours into a print, only to then clog up.
Results of filament coiled up.
I knew that the problem was heat traveling up to where it shouldn't be. Meaning, the hot end should be hot and the heat sync should be cool.
I thought of a few things that could fix this. One was to install a bigger fan, which could blow more cool air on the heat sync. I cover this in another post about installing a 50mm fan on the 3D printer.
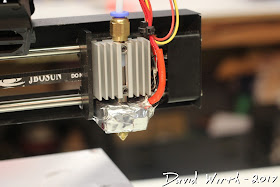
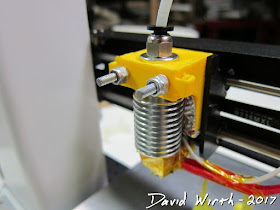
Another fix would be better insulation on the hot end. I noticed that the insulation wrap which was on my heat sync was in pretty bad shape.
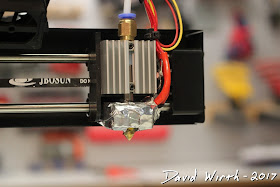
Keep the hotend hot and the heatsync cold.
So i figured that if i could insulate the hot end better it would prevent excess heat from traveling upward. Some possible solutions for insulation were:
- Several layers of kapton tape
- Buy new insulation and tape wrap
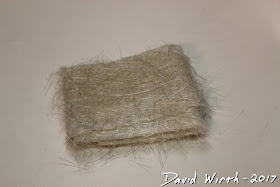
- Fiberglass wrap
- Carbon fiber wrap
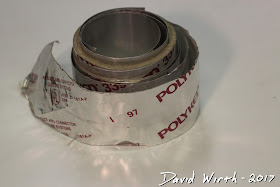
- Aluminum tape
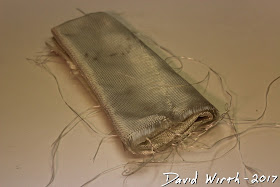
Random fiberglass strands.
Aluminum tape.
Whatever solution i decided on had to withstand the 250 deg C (450 deg F) temperature that the hot end would get up to. I checked and aluminum, carbon fiber, and fiberglass wold be fine with temperatures up into the 1,000 deg F temps. And since i had fiberglass, carbon fiber, and aluminum tape in my shop already, i decided to use it.
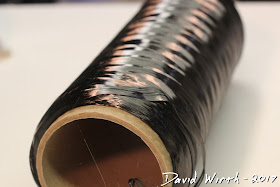
Actually i decided to go with just the carbon fiber and aluminum tape. I bought a big spool of what's technically called "carbon tow" on Amazon for something like $20.
I thought that it would do a better job with the high temps than the fiberglass.
I wanted to tightly wrap the hot end with carbon fiber, especially the top, then seal everything with the aluminum tape.
One thing i forgot to do was first...wrap all wires with Kapton Tape. I accidentally had the aluminum tape over top of the wires to the heat break and shorted out part of the board. So make sure to protect electronics and wires with kapton tape.
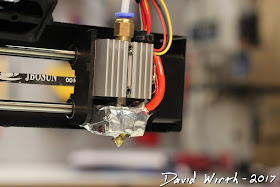
I used the carbon fiber strands and wrapped the hot end and steel tube connecting it to the heat sync. It was a little tricky to wrap a small square shape and not interfere with the bottom nozzle. But i got it wrapped pretty tightly, then covered all the fiberglass with aluminum tape. I thought it looked ok.
Here's the carbon fiber tow wrap that i used.
This is when i learned an important lesson. Heater cartridge wires don't like to be touching each other. It turns out that either the carbon fiber or the aluminum tape was touching both of the heater cartridge wires, which caused a big short. The printer started fine, but when i set the extruder temp it broke very badly.
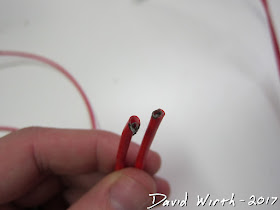
I ended up burning through the two red wires where it connects to the heater cartridge. I also ended up breaking a MOSFET chip on the main circuit board, but that's another story.
What i should have done was to buy Kapton tape and wrap everything first. Then wrap with insulation and cover with aluminum. That way the Kapton tape would have protected all electrical wires going to the thermistor and hot end.
And actually a few weeks later that's what i did.
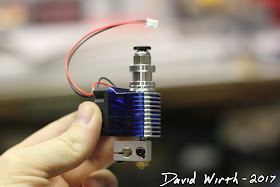
Had i known now, what i knew then, i would have just gone online and just bought a new heater cartridge. But at the time i had never replaced that part and i thought it was permanently attached, i could not find the allen screw and remove it. So for $25 i ended up buying a whole new E3D V6 chinese clone RepRap hot end, which came with a new heat sync, hot end, thermistor, heater cartridge, PEFE tube, and fittings.
I'm happy with replacing everything, that's part of 3D printing...fixing issues that are usually self-caused.
But yet again, installing the new V6 hot end is another video and post.
https://davewirth.blogspot.com/2017/04/install-e3d-v6-hotend-3d-printer-mp.html



No comments:
Post a Comment