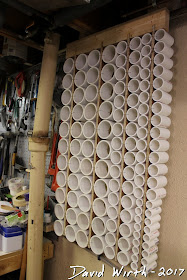
PVC Pipe Shelf - Organize Basement Storage
https://youtu.be/fOxu6LyiFPQ
My basement workshop is constantly changing while i try to make it more organized and easier to work in. For years i kept all my tubes of glue, caulk and spray paint cans in milk crates.
That worked well for saving space, but not great for finding what you need. I would have to go to the shelf, pull out the milk crate and then search for the thing i needed.
I thought that building a wall shelf would be a great way to save space and also make finding what i need easier. The cans and tubes could stick out, being partially visible and easy to see. Originally i was thinking i would build the shelf out of wood. But then i thought how much work it would be to build over 50 square compartments. So i decided to use 3 different sizes of PVC pipe and cut them into segments and use that for the "shelves".
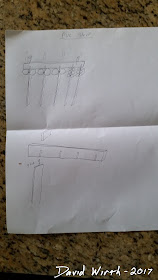
So i drew up the plans.
My thought was to have a 2x4 at the top which would attach to the ceiling joists. Then there would be 4 boards which hang down in vertical rows that the PVC pipes would attach to in the center. At this point i wasn't exactly sure how i would attach the PVC to the boards.
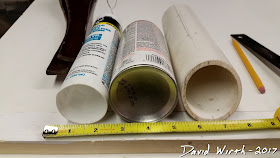
The main things i had in the milk crates were cans of spray paint and tubes of caulk. So that's what i measured up.
I also had some random sized stuff. But since i already had several sized of PVC i figured that the random stuff would just fit in where it could.
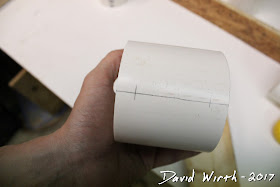
I kind of knew where i wanted the shelf to go. There wasn't a lot of open wall space in my basement, but i had a clear space about 2' wide. So i cut the 2x4 to the approximate length. Then i ripped some OSB 3" wide and about 4' long. I cut a couple of the big 3" PVC pipes to 3" length and thought about how the rows would go.
My first idea was to put all of the big 3" PVC at the top and smaller PVC below.
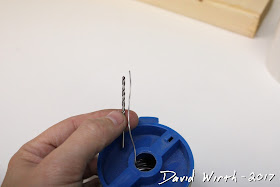
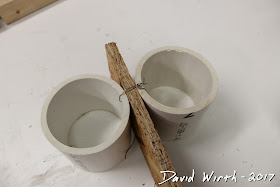
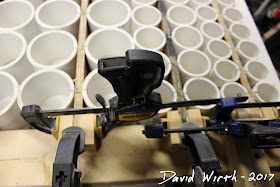
Close-up of the holes to be drilled for the wire.
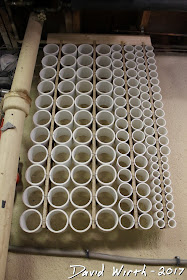
But then i realized that it would take up too much space and there would be gaps at the bottom. So i cut some of the smaller 2" and 1" PVC that i had lying around and rearranged the rows. Now it was 3" to 2" to 1".
This was better and took up less space. Also no gaps.
And that's the sizes of PVC pipe that i used: 3", 2", 1".
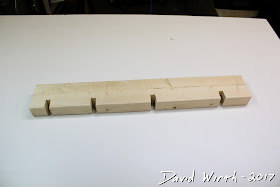
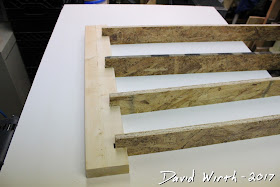
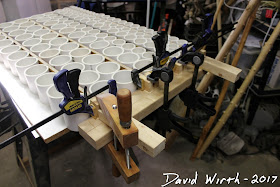
Once i had the arrangement set i could decide on how i would attach the OSB to the 2x4. I figured that notching out the 2x4 was a good idea.
Test fitting the OSB boards that would hang down.
Then i could just glue the OSB in place. I figured that glue would be strong enough.
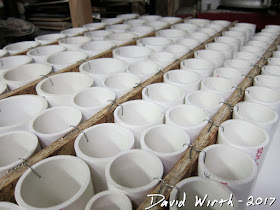
So now it was time to start cutting all the PVC pipe. It took a lot longer than i thought. To cut the PVC i used my big 12" DeWalt miter saw. It worked well but i had to be careful, if the teeth grabbed it or got snagged it would send the piece flying. I did end up using a lot more PVC pipe than i thought i would. But i used a stop block set at 3" and that sped things up. And finally it was all cut to length.
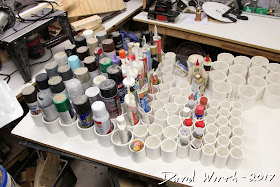
Testing them in their rows.
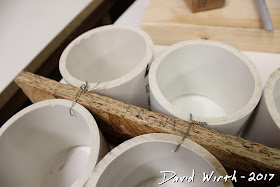
Now i had to decide on how i would attach the PVC to the OSB. I thought first about using screws or bolts, but i decided to use wire. The good thing about wire was that it's cheap, strong, and flexible. Screws or bolts would have been a pain and expensive. With the wire i could bend and move it around to get it to fit.
So i started measuring and drilling and did the first test attachment.
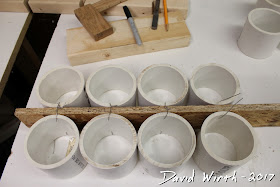
More rows complete.
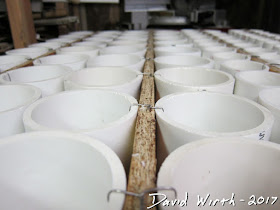
It took a long time of drilling the OSB, drilling the PVC, feeding and attaching the wire, but eventually it was all done.
Another view of all the rows. This took a long time.
I thought that maybe i should attach the PVC at a slight upward angle so that the cans wouldn't slide out, but i attached it flat and haven't had a problem.
I did add some extra support blocks to the back side of the 2x4, to give the OSB more surface to attach to.
Then to attach everything to the joists i ripped a 2x4 in half and used it vertically to connect the shelf to the joists.
It was kind of heavy but not terrible. It took some figuring on how i was going to hold it all up with one hand and screw it to the joists with the other, but i eventually got it attached.
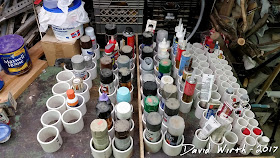
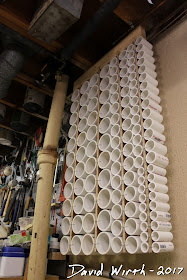
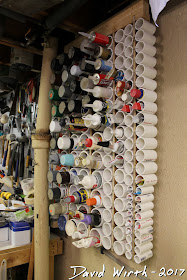
Head on view. It's bigger than it looks.
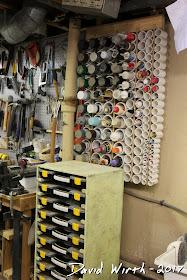
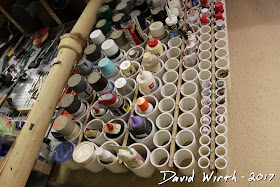
Yet another view.
I really like how it turned out. No more searching in milk crates for what i need, it's all out in the open, but not taking up that much space.
In the end i could have used more of the big 3" PVC because i filled that up and had empty 2" and 1" pipes.
Also it may have been less work than i thought to make it out of wood. I thought that by using the PVC it would have been quick and easy, but all the drilling and wiring was a bit of a pain.
But i'm happy with it.

