Replace Starter - Chrysler Town and Country / Dodge Caravan
https://youtu.be/Quds2qPktegThe first thing you probably think it would be is a dead battery, since that is the usual culprit. Maybe you accidentally left the lights on or something and your battery died. So you try to jump start it, turn the key and ... TICK.
Just 1 tick.
Typically when the battery is dying you will hear tick, tick, tick, tick...slowing down and trailing off. That sound is from the starter attempting to turn the engine but there isn't enough power to get it to spin.
When you hear one single tick, it means the starter isn't turning at all. The tick you hear is from the gear on the starter motor engaging with the flywheel on the engine. Usually that gear engages, then the starter spins and the motor turns on.
So your starter gone bad.
The first way to fix a starter that isn't starting is to hit it with a hammer. Sometimes you can get dead spots on the coil of the electrical motor and if you hit it with a hammer it can shift it around and get off that dead spot and start up. This is a good temporary fix, but eventually it will find that dead spot again and you will have to keep hitting it.
BUY NEW STARTER
So you need to replace the starter. The good news is that the starter on the Chrysler Town & Country only has 2 bolts and is near the front of the car. The bad news is that it's a pain to replace.
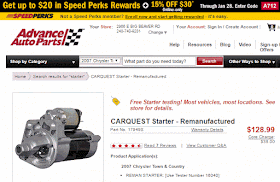
As always, i go to SlickDeals and search for Advanced Auto Coupon Codes. They always have big discounts when you buy online from Advanced Auto, the code is usually something like TRT30, TRT41, etc...
There's several and you have to find the best one for the biggest discount for what you are buying. Sometimes the 30% off is the best. This time i got $40 off when you spend over $100. Also they will email you $20 codes every once in a while. So the starter was $167, which includes the core return charge. Then we got the $40 off and additional $20 off. With tax the final charge was $113. After it was all done we returned the old starter and got $30 back so the final total was $80.
REPLACING STARTER
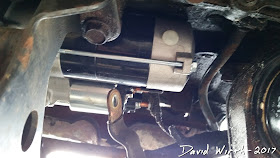
First disconnect the battery, then climb under and disconnect the 2 wires going to the starter. There's a small yellow wire which just pulls off and a big red wire. To get the bigger wire off you have to remove a nut.
Here you can see the larger of the 2 wires going to the starter.
Many, many hours later you will end up by reconnecting that wire to the new starter.
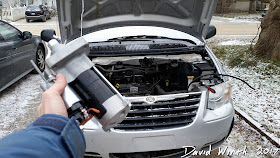
Before going through everything, to make sure it's the starter that's bad, we connected those 2 wires to the new starter, grounded the starter to the metal frame, connected the battery and turned the key. The new starter whizzed as the motor spun around. So we knew for sure that it was the starter that needed to be replaced. If the new starter didn't spin it would have been something else that was wrong.
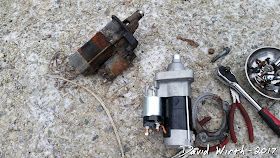
Eventually we got the old starter out.
And ready to put in the new one.
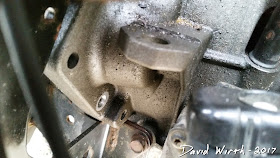
So now time for the hard work. Like i said, there are only 2 bolts holding the starter in place. The bottom bolt is the easier of the 2 to remove. It's best if you use a wracheting wrench because there isn't enough room for a socket wrench.
Not enough room for the socket.
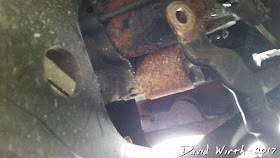
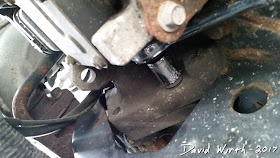
BUT... the upper bolt is a real pain to remove. It is a weird bolt. You need to use a 15mm deep well socket to remove it.
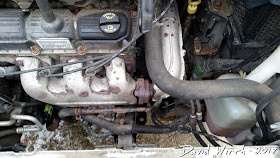
The view from the top.
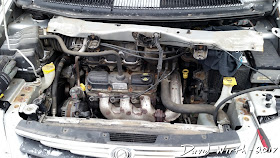
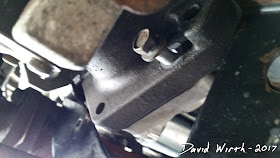
Eventually you will have to get down to removing this small plug to get a direct line on the bolt to remove.
We tried for hours to get it off, using every socket extension and swivel socket head we had, but could not get it to bite. There was too many things in line with the bolt and we could not get the socket to fit. The bolt itself has threads, then a nut, then more threads. it's where the larger of the 2 wires attaches.
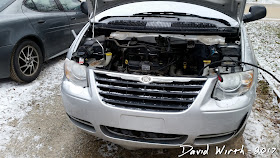
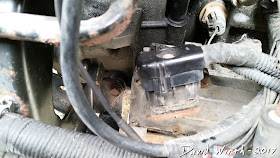
The big thing to know is that in order to remove the other bolt you have to remove a ton of other things. You have to take off the plastic fan shroud, frame rail, and radiator fan. You also have to take off a plastic electrical cap and move it to the side. All of those things have to be taken off, just to get that socket and 15mm deep well aligned straight.
All in all it wasn't that much of a pain to remove that stuff. It only took 20 minutes, compared to the 3 hours we spent failing to get it off the first day.
To install the new starter, there is a metal spacer that has to be wedged in between. It says "UP" on it so you don't screw it up. But it takes a lot of effort and jiggling to get the starter to slide into place. Then just tighten the 2 bolts back down.
Before putting everything back together we tried to start the car. Luckily it started up perfectly. So we put the fan, frame rail, and plastic shroud back in place.
As with most car repairs you do, the first time you do it takes hours of screwing up. If i had to do it again it might only take 2 or 3 hours, but the first time it took about 6 or more. Had i of known that i couldn't remove that bolt without removing all that stuff it would have saved a lot of time.
It still isn't an easy job but not impossible.




very useful posting.
ReplyDeleteDoes it need new gasket?
Why didn't you just take off bottom motor mount and bracket bam your there you did not need all that shit off
ReplyDeleteDude..you made it way to complicated you will need a long extension, 13, 15 socket, (possibly open end 13, 15 too if you cant loosen the rest of the way once the bolts are loose I didnt though) long extension goes under the two aluminum lines btw for top bolt..so easy..
ReplyDelete1. Disconnect the negative side of battery. 10mm ratchet.
2. Jack the front of the vehicle.
3. Use jack stands to support the vehicle. Do not use only the jack. I use the jack as a back up for the stands.
4. Chock/Block the rear wheels.
5. The Starter is located on the front side of the engine, just below the exhaust manifold near the transmission-flywheel housing.
6. Looking at the engine compartment from the left fender side of the van, there are two bolts (15mm) that need to be removed. One located at 10-11 o'clock position on the Starter and one at 4-5 o'clock position on the Starter.
7. The Upper Bolt is easily accessed from the front of the vehicle going OVER the radiator. It is partially hidden by a black brace. There is a black ground wire going to where a nut is located. This first nut will allow you to take off the ground connection, however the bolt has another nut further in (to the left) which is totally hidden. Remove this first nut.
8. After the first nut is off then using a deep socket 15mm socket remove the second nut which is attached to the bolt.
9. Go under the vehicle to remove the wires from the Starter. The first wire is the positive cable (should be red) attached on the solenoid portion of the starter. That is a 13mm nut, Remove the nut and lock washer and detatch the wire. The second wire (single small gauge) goes to the solenoid and is connected using a slide lock - press release connection. It is difficult to see the slide lock and the press release located on the top side of the connection. Slide the red slide lock out and press the release, and pull out the connection straight out. Do not force it, or it may damage the connector. Note the placement of the bottom bolt position on the Starter. DO NOT remove the tow (2) small, but long connector bolts on the wire connection end of the starter.
10. Remembering the noted postion: remove the lower 15mm bolt from the Starter. The bolt head is located on the back side of plate moving towards the left side of the Van. It is easily accessed from underneath in front of the transmission. Near the end of removing this bolt, support the starter or it will fall out.
11. Remove the Starter, noting the position of the starter. There should be a separate starter facing plate. If if didn't come down with the starter check up in the starter to flywheel opening and remove the plate.
12. Installation is Reverse of above. The facing plate is a little tricky getting it to stay in place. By starting with the bottom bolt it is easier, Make sure you continuously support the Starter in position to save crossthreading the bolt or starter. Hand tighten only the bottom bolt as youwnat to be able to turn the starter slightly to get the top bolt in.
Starter Bolts are tigthen to 35 ft-lbs.
I hope this helped. Let me know if it helped or if you need additional help.
I liked the brief & uncomplicated presentation. The video production followed the dialog well. Like most Chrysler T & C starter replacement video articles on Youtube, video shots poorly shot where the bolts are located for example. It's difficult to easily understand looking up from the ground and down from the top of the engine where are the bolts located.
ReplyDeleteIf you are interested to become professional, many community colleges now have certificate programs in video production.
The solution is to use available diagrams of the starter. You could do your own drawing. Also, consider animation or some type of Augmented Reality, AR.
One customer AR repair manuals are the armed services. They want to teach "Maintainers" on the job & to work under pressure. This idea could be used for any repair process.
AR is not common on Youtube & as a general practice for teaching. Business applications are more profitable. The auto industry is slow to adopt this approach.
Cheers, JSW.