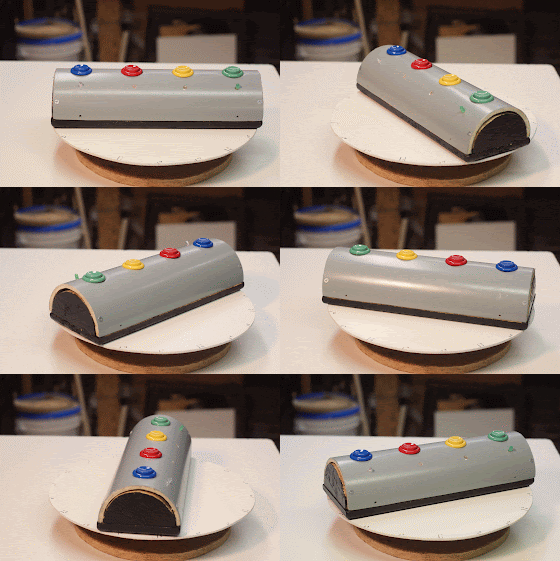
Arcade Button - Baby Light Game
It was something that i originally made for the photobooth for our wedding, but never used. It was 4 arcade buttons of different colors. Originally i wanted to have different buttons to do things like turn the lights on, take pictures, print, etc. But i ended up just having 1 button do everything.
I made a photobooth for our wedding reception several years ago.
Here it is on the photobooth frame in front of the monitor and camera.
Blog post about Photo Booth
http://davewirth.blogspot.com/2013/04/wedding-photo-booth-forget-rentals.html
Video showing Photo Booth in action
http://youtu.be/8Sl7_jlkfW4
That arcade button i had connected to a mouse that i took apart, so that pressing the arcade button was like Light-Click and started the photobooth program to start taking pictures. It worked great.
So i had the frame and buttons left over sitting in the basement. I thought i would be cool if i wired colored LED's to the colored buttons to teach him 4 different colors.
So i drilled a little hole near each button and hot glued in the corresponding LED. Now you'd think that it wouldn't be that complicated, but man did i screw it up. I've wired up LED's before to a battery but for some reason i had trouble.
The main problem i had was from the tabs on the arcade buttons. Some tabs are "open" when the button is pressed, some buttons are "closed" when the button is pressed. It took me many tries and testing with my volt meter to figure out what i was doing wrong.
But eventually i figured it out.
Here's another drawing showing everything inside of the game.
The top drawing is what i did first that wasn't correct, the bottom is right.
Power came from the battery, through a 220 ohm resistor, into the switch, out from the switch, to the LED, from the LED and back to the battery. All of that times 4 switches.
Another picture of the wiring chaos.
But eventually it worked. And i taped everything down so that it wouldn't come loose. Then i attached the wood base i made so that he couldn't get to the wires.
It was fun to play with, even some of the older nieces and nephews that came over played a little. But there would have been a few changes i would have made if i built it again. First, protect the LED's that stick up. After a few months of being dropped, stepped on, and thrown down the stairs, a couple of the LED's broke off. I should have glued on a little ring or something to guard them.
The other thing is to really secure the wires. After all that abuse some of the wires came loose. Now only 1 LED lights up. So i will have to rewire everything when i get some free time. Which with a 1 year old is never.


No comments:
Post a Comment