skip to main |
skip to sidebar
Last September i was thinking of buying tickets to see a Detroit Tiger playoff game. But it turned out that the ALDS (round 1) was going to be September 30 - October 6. I was going to be in Italy those days so i wouldn't be able to go.
But i thought, i'll just try and see if i even could get tickets. I remember hearing stories of people going crazy trying to buy world series tickets a few years ago.
Here's what the process was like. I went to tigers.com the day the tickets went on sale and saw this I clicked on Game 1 and was directed to this screen, the Virtual Waiting Room. I have to say that this is actually a good idea. It's not first come-first serve but sort of a random selection. And it stops people from just clicking the Refresh button 5000 times.
 It said that it would automatically refresh the screen. But i figured if 1 was good then 10 would be better. So i went back and clicked Open in New Tab ten times. At the top here you can see all the browser windows i had open.
 I don't know if it actually helped though because all of a sudden, all of the windows went to this screen. I thought "great, it worked, i can buy tickets now." It turned out, not really.
  This was the next screen. I selected 2 tickets together in the Right Field Grandstand and clicked Continue.
  It then went to everyone's favorite screen, the wavy text verification. This is so that they know you are a real person and not a computer program trying to buy up all the tickets, then sell them online for triple the price. So i typed in the words and hit continue.
 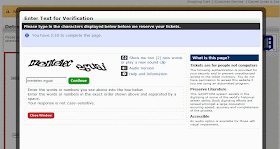 It went back to the previous screen with this error.
  So i tried again.
Once or twice it said this.
 This process went on and on for about 20 minutes and i was really sick of typing in those hard to read words. Until finally it worked. I actually had given up on the right field grandstand and just selected 2 tickets, best available. Apparently the best available were $60 in row 22 of the upper deck. After taxes and fees (which are totally made up) the total would have been $140.
 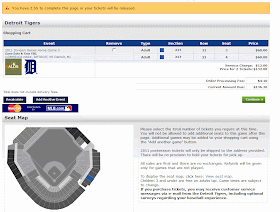 The crazy thing is that there was time limits on everything. 2 minutes to pick your seats, 3 minutes to verify, 3 minutes to enter your name.
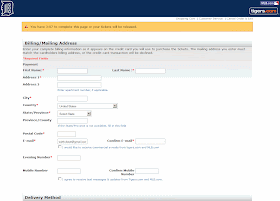
It turned out to be a good practice run if the Tigers made it to the ALCS (round 2). I was going to have to order them at 4PM in the lobby of our hotel in Rome.
It ended up that i couldn't get tickets for round 2 (ALCS) because they went on sale at 10am the day i left for Italy.
The tickets were $110 face value. Luckily with all the sports going on here in Michigan: Lions Monday night Football and MSU vs UofM.... the tigers got left behind a bit.
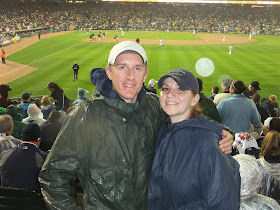
The day of the games the tickets were going for less than face value and Karrie bought right field bleachers (my favorite seats) for $25 each. It was game 4 and it was cold and rainy but it was great. Way better than upper deck for $250.
It started a few hours late because of the rain, then went into extra innings and the Tigers ended up losing but it was still fun.
Here's the tarp on the field before the game.


Blogger.com has the cool ability to show the stats of people who visit your blog. It shows tons of stuff like what country they are viewing it from, what operating system they use and what page they viewed.
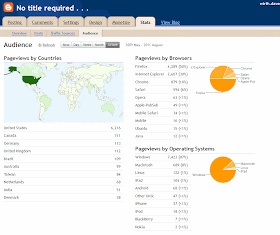
I was surprised to see that the most popular pages each month are always the IQ Light and TV Antennas and Fractals. 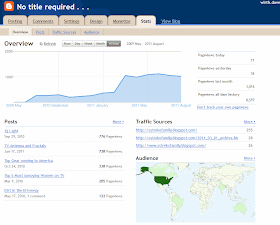
With over 200 pages i usually get around 1000 views a month, which is nuts.
This all started when i searched Google for "how to take pictures of stars." Lots of links came up for this program called CHDK.  CHDK - Stands for Canon Hacker Development Kit.
The short explanation is that Canon cameras have the hardware ability to do all of these cool things but the software installed by the factory doesn't allow for it. This is a free program that allows the camera to function at the limits of its abilities. It was created by many different people over the years and it all started by people just wanting to get RAW images from their camera. It has been evolving and added onto ever since.
If you are interested in how to install it onto your camera go here: How to Install CHDK. It seems a bit complicated at first but it's not too bad. Just "prep" your SD card, add the program and any script files you'd like and you're done.
I installed it onto my old Canon PowerShot SD770 IS. This is a great camera, with a battery that lasts a long time.
Here's the 5 main things that i was interested in doing:
- Intervalometer
- HDR pictures
- Very long shutter speeds
- Very short shutter speeds
- Motion detection
Screenshot at start-up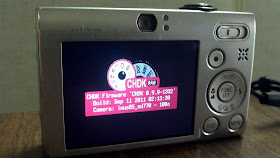
Main menu 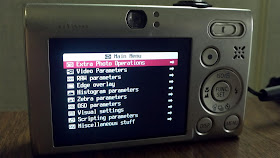
1st - Intervalometer
Intervalometer basically means "takes many pictures in a row with a timed delay." I used the script file called Ultra Intervalometer.
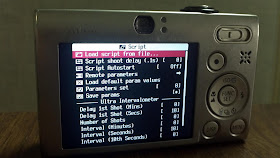
Once your script file is loaded, you adjust the settings at the bottom. You can see that this is set up to take a photo every 10 seconds. Here's what the menu looks like.
Here's what the screen looks like while the file is running. At the bottom left corner of the screen you can see it counting down before it takes the next picture. 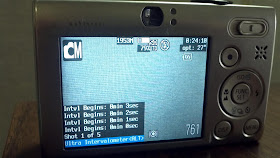
I did this from the walkway near 12 mile over I-75.
I set the camera up during my car ride from work. This was 150 pictures, taken every 10 seconds. Then using a program called PhotoLapse 3, a video is created by stitching all of the pictures together.
I did this by setting my camera and tripod on the roof of the garage and operated the camera through my upstairs window. The bad thing is that the exposures didn't adjust as it got darker, which is why it fades to black at the end. Next time i'll try and fix it so that it starts taking pictures of the stars at night.
This is the camera set up on the beach at Lake Erie for time lapse photos.
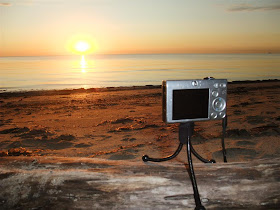
It has millions of possibilities. In the future i plan to attach the camera to balloons or a kite and have it take pictures every couple of seconds while it flies over my house.
2nd - HDR Photos
To create an HDR image you take several pictures of different exposures and combine them to create one great picture. It's a little difficult to explain and i think it's very difficult to do right. But the goal is to create an image the way our human eye sees things. Our eyes can see detail in shadows even when looking into a sunset, HDR photos try to do the same thing by taking the best parts of multiple images.
Bracketing menu.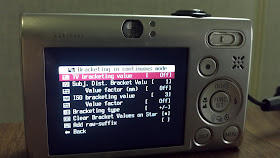
You can see that in one picture the shadow area might look great, then in another picture the sunny area might give the best detail. By creating an HDR photo it combines all of the best parts into one great photo. Here's 5 photos i took, without moving the camera. Using CHDK i just hold down the shutter button and it automatically takes the pictures at different exposures.
After you have these photos you can use several programs to combine them. I tried using several different programs. Picturenaut worked ok, but i think Photomatix is the best. They both have free versions.
Once the images are combined, then you screw around with Tone Mapping, save the image, then adjust it further in Photoshop. Here's the final result.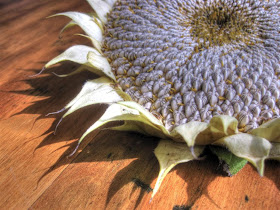
The sunflower isn't a great example. The whole point is to take HDR photos in complex light and dark settings. This one i took on the beach of Lake Erie is a little better.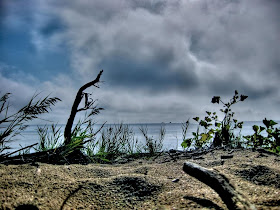 I'm still working on creating just one HDR image that i like. I'm slowly getting better.
3rd - Long Shutter Speed
This is something i have done before, but i was limited to the settings in the camera. This is the heart of CHDK, it enables the camera to operate at its hardware limits.
When i took pictures with my cameras before, the maximum i could keep the lens open was 8 seconds.
Flashlight in the backyard
Dry ice
And for what i was doing, 8 seconds was alright. But with CHDK it allows the camera lens to stay open for much longer, over 1 minute.
I took this picture outside of work one cloudless morning before dawn. I had the camera set on my mini tripod and opened the lens for 25 seconds.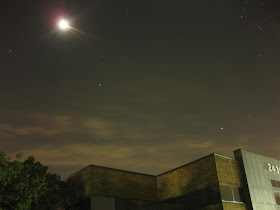
Now to get the best result, this should really be done with a DSLR camera with a big lens to let tons of light in. Here's a professional example. This took several hours to take.
This is what i was trying to create.
 The cool thing is this shows why you should only follow the North Star, everything else moves in the sky.
The photo i created doesn't look that good. The problem was that my camera would not record the image fast enough. I left the lens open for 50 seconds, but after the shot was taken it took 40 seconds to record and take the next shot. That's why it looks like many dots instead of smooth lines. 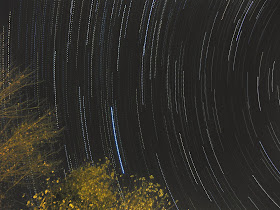
I later bought a faster SD card (class 6) that records at 20mb/s but it was just as slow. That means that the problem is in the camera and there's really nothing i can do about it.
I've found that the best program to combine all of the photos into one is coincidentally called StarTrails. It's really fast, really simple and it's what i used to create the image above.
Here's the video created from those same pictures.
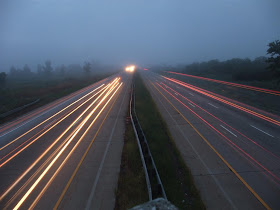
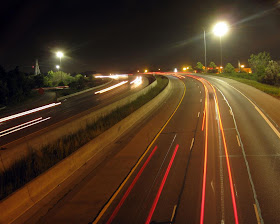
Here's other photos of the highway using long shutter speeds.
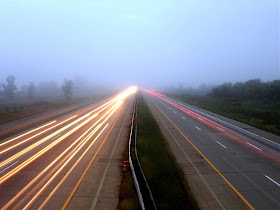
4th - Short Shutter Speed
This is the menu that i use the most. Here you can adjust the shutter speed, ND filter (a sort of digital aperture) and ISO value.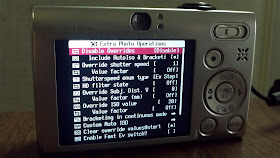
I tried shutter exposures between 1/1000 and 1/20,000. The camera was set up in front of a glass with water dripping down. Both the camera and glass were in the kitchen sink.
I took about 100 pictures in total, using the intervalometer to automatically take one photo right after another. I was was holding two flashlights on either side of the glass and also had the flash turned on. Otherwise the pictures came out way too dark.
F-Stop = f/8
ISO = 80
Exposure = 1/1000
I probably should have set the ISO a lot higher. I think that would have made everything end up in better focus. 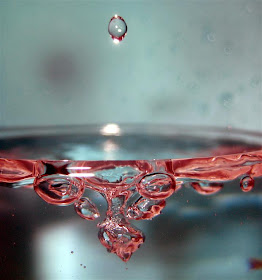
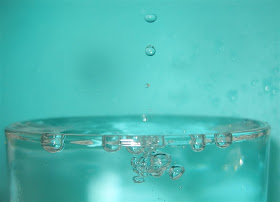
This one was at 1/1500 of a second. 
Here's what the process looked like. Notice how it's daylight outside. That wasn't enough, i still needed the flash, the light on, my big 3 million candle power flashlight and another LED flashlight held real close.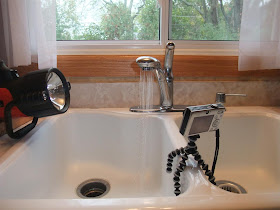
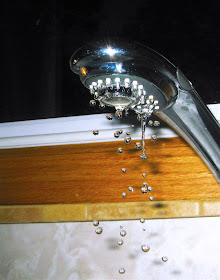
The result was this. Now notice how dark it looks outside, when it was really sunny. That short of a shutter speed needs tons of light.
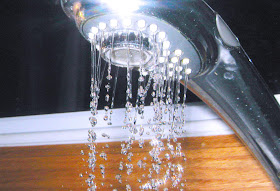
 Here's the tap turned on a bit faster.
This one didn't turn out as well as i hoped. I tried to get the starting of a lighter. Again with the fast shutter speed i needed more light.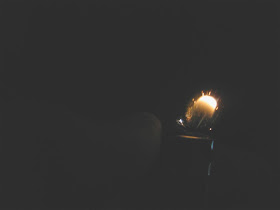
5th - Motion Detection
Motion detection is a script file and it can be used in many different ways, from taking photos of lightning or used as a trail camera.
Here's what it looks like when the motion detection script is running. It's a little hard to see but the whole screen has green boxes covering it, and instead of face detection it is now motion detection. Once you input the sensitivity, and movement will cause the camera to take a picture.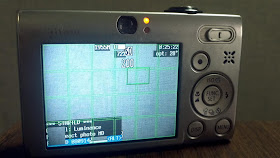 The cool thing about the motion detection is that you can put the camera on a tripod, aim it at an approaching storm and when lightning strikes it will take a picture, capturing the lightning bolt. It might be a while before i get a picture of that. It's sort of a right place at the right time kind of thing.
Anyway it's been great to experiment with and i've enjoyed having the ability to do all this stuff without buying a really expensive camera. It's created tons of new possibilities.
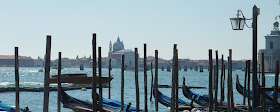
Day 8 - VeniceOctober 3
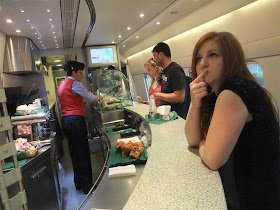
We had to get up real early to catch the train to Venice.  The train took a little over 3 hours and made 4 stops along the way. Here's Karrie deciding what to get on the food cart.
  Finally arrived and this was the view walking out of the train station.
While waiting to buy tickets for the vaporetto (water taxi) we found out that there was a 24-hour strike. Time to panic. 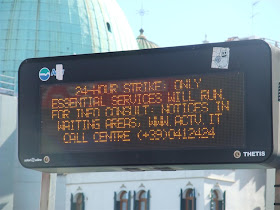 But it turned out that just one boat was running, from the train station to the Rialto Bridge. So we bought a ticket and got on. It was really crowded, we sat up front.
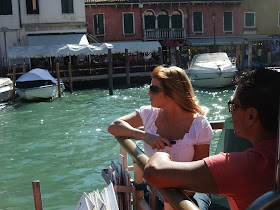 The Grand Canal.
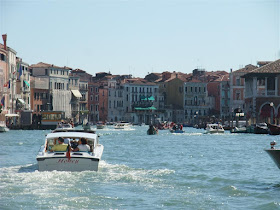 The Rialto Bridge.
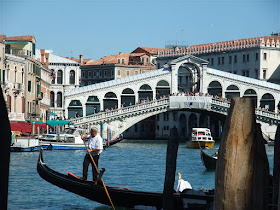
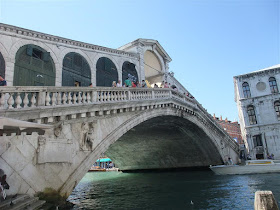 View from on top of the bridge.
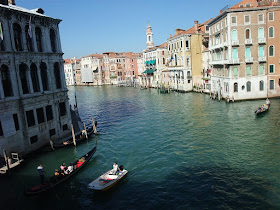
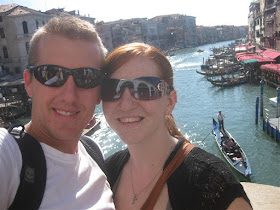
I would have to say the the theme of Venice for me was "too much for my brain to take in." There was water and buildings and docks and boats. But it was amazing.
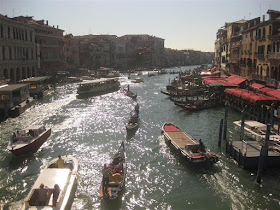
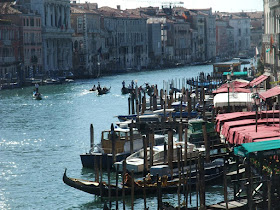
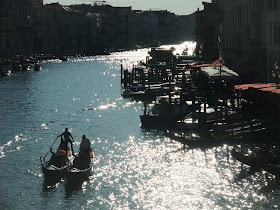
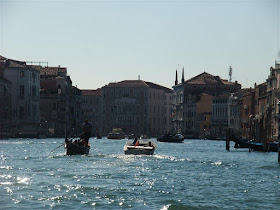 Then we walked from the Rialto Bridge to St. Marks Square. We were a little nervous about getting there. We had planned on riding the vaporetto the entire way, but since they were on strike we had to walk.
At first we thought that if we just followed the river we would eventually make it. That didn't last long, the pathways just ended. So we decided to take the direct route and follow the signs. It turned out to be just fine, it only took 15 minutes. The map made the city look a lot bigger than it was.

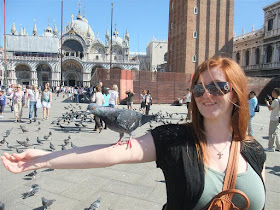
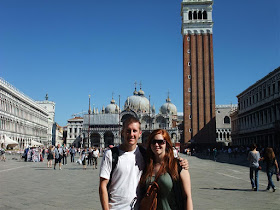 I really enjoyed feeding the pigeons there.
Here's a video of Karrie feeding them.
 We then walked to the church and then over to where the canal ended. The view to the islands was awesome.
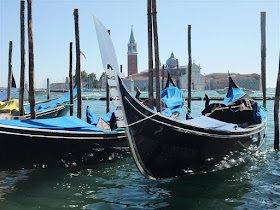
I liked Venice. There were no cars or mopeds to run you over. Everyone said that Venice was really expensive, but it didn't seem any worse then the rest of Italy. Although we did stay away from the popular places while shopping so maybe that's why. We had planned on stopping at Harry's Bar to eat, but when we got there it looked very fancy so we kept going. I'm glad i did, people said that one drink was €15.
I saw this really cool music store that sold ocarina's. I would have gotten one if they weren't €35. I figured that i could make one when i got home. 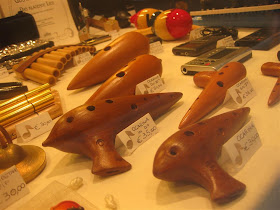
Karrie and i got Canoli's for €1 each. They were alright, only slightly sweet. 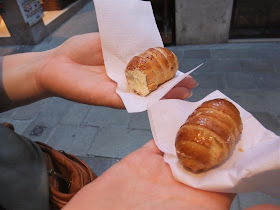
Weeks ago we decided on eating at a restaurant called da Sandro. It was only around 2:00pm and we weren't that hungry but i wanted to find it anyway. So Karrie and i walked down alleys, over bridges, until we popped out of one alley and we were surprised that we were standing right next to it. So we stopped and had a drink outside. 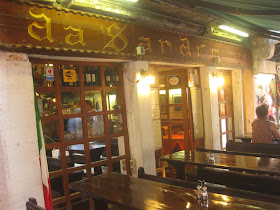 Then we walked back to the Rialto Bridge and took the only boat back to the train station.
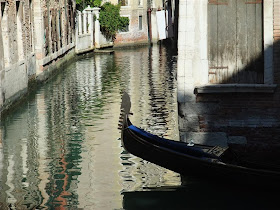
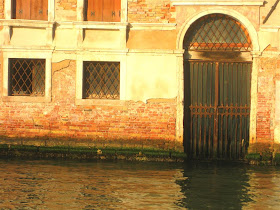 Riding back on the vaporetto.
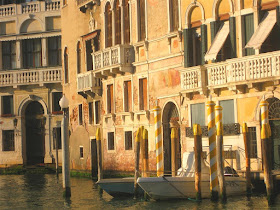
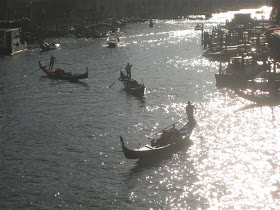
We had dinner across the river from the train station, met up with the rest of the group and took the train back to Rome.
Day 9 - RomeOctober 4
We didn't have any real plans for the last day. So we decided to take our time walking to the train station, then go to the Mediterranean Sea. We stopped at a lot of shops, bought some belts from these guys.
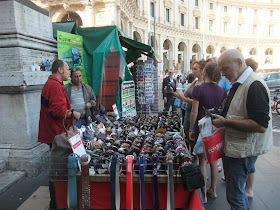 From Termini station we took 2 metro trains then walked to the beach. I didn't like riding on the first metro, it was dark, creepy and super crowded underground. The second train was better.
Here's what the beach looked like when we finally got there.
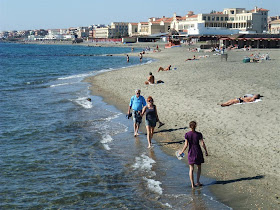 We were kind of tired so Karrie and i took the metro back to the hotel. This pyramid was outside on of the stations in Rome.
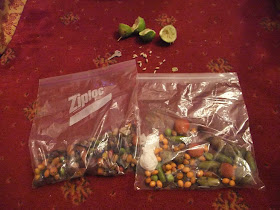
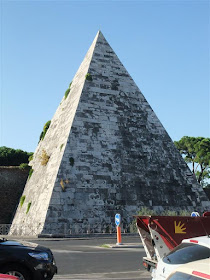 During the trip i had collected lots of seeds. I picked up limes and palms from the Roman Ruins, seeds from a palm tree that had a €1500 price tag on it, cedar seeds from trees growing on the Appian Way, and lots more. I thought it would be "difficult" getting them through customs so i decided to mail them to myself.
So i put them in zip-lock bags, wrapped them in another plastic bag then got directions to the post office.
 The guy at the desk gave me directions but said that they might be closed.
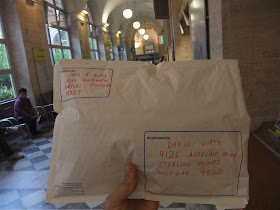
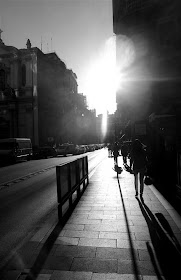 The building was difficult to find then once i got inside it was super confusing. I first bought an envelope. But the tough part was figuring out what line to be in. There was E, F, A, U, Ea... I got in the wrong line twice before i figured it out.
They charged me €14 and said "that's it." I wasn't sure if it was going to make it, but 2 weeks after i got home the seeds arrived.
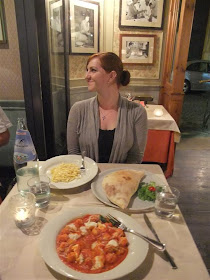
 I walked back to the hotel, took a rest then Karrie and i went to dinner. We ended up going to the place i was going to originally take her for her birthday, before i made reservations at Ciampini up on the high road.
It was fine, nothing real fancy though. We were both glad that i changed the reservations on her birthday.
 The rest of the group walked by while we were eating, they were looking for some place nice to eat. We said Ciampini was great, so we walked there with them. When they came back to the hotel they agreed that it was super nice, but expensive.
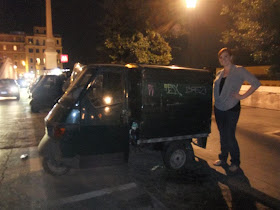
Here's Karrie by one of her favorite mini garbage trucks.
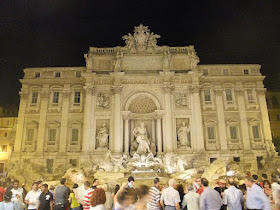
 We also made one last stop by the Trevi Fountain. As usual it looked amazing.
 Day 10 - FlightOctober 5
The last day. We woke up real early, 4:30am. Again we had the van take us to the airport for €80.
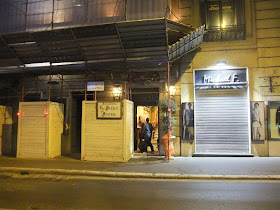 We told the driver what airline we were taking and he took us to Terminal 5 and then drove off. Something didn't look right. Firstly because it was closed, the doors were locked.
When we got inside there wasn't anyone working. We finally found someone and they said this was only for international flights. It turns out that since we were flying from Rome to London we needed Terminal 3. So we hopped on the airport shuttle and went to the right place.
Here's everyone at our first layover at London Heathrow airport.
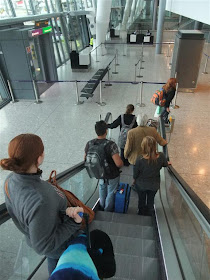 This flight wasn't bad at all, we had tv's in every seat. You could play games like tetris or watch different movies.
During the flight from London to Chicago we flew over Greenland. There was zero clouds so at 30,000 feet we had some amazing views.
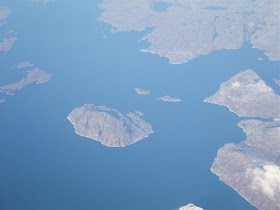 We could see some huge icebergs floating in the ocean.
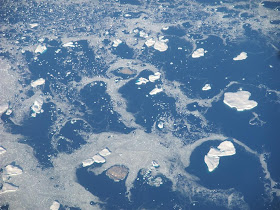 We came into Chicago from the north a bit and flew over the Mackinac Bridge.
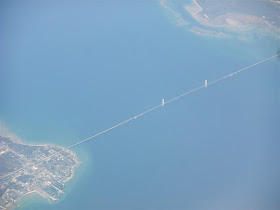 The last thing we wanted to do was get on another airplane, but we took the last flight from Chicago to Flint and the trip was over. I think it was 11pm by the time i got home.
- The weather was great the entire time we were there, 80 and sunny.
- A good map is a necessity to know what streets and bus stops you want.
- Our schedule/itinerary was great, we did basically everything we had planned.
- Restaurants can't serve tap water so you have to pay for bottled water, usually €3-4.
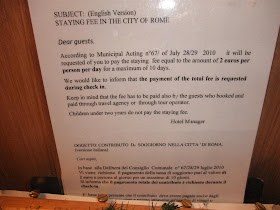
- All hotels in Rome charge you a €2 fee City Tax for every night you are staying. We were surprised we had to pay it up front when we arrived.
